Stars and Stripes Crochet Pillow Pattern
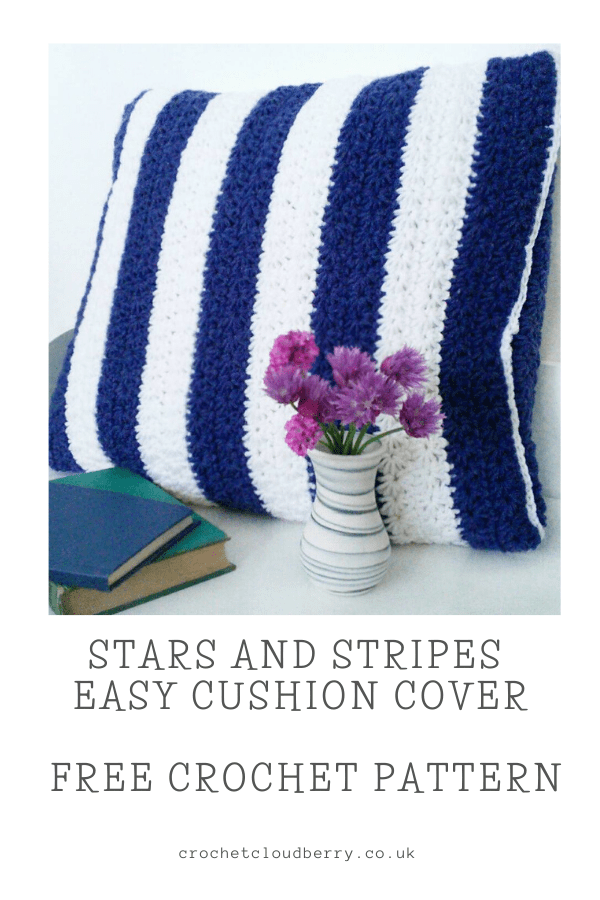
This fresh crochet cushion cover is just right to give a corner of your home a summery make-over. Ever since returning from holiday, I’ve been thinking about the sea, so it is not surprising that my next crochet project has a nautical feel to it with blue and white stripes formed of two rows of star stitch. This effective but simple crochet pattern is a perfect summer make.
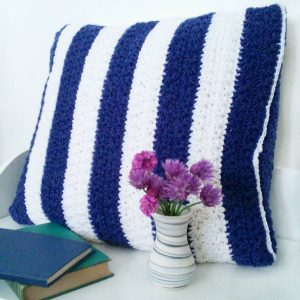
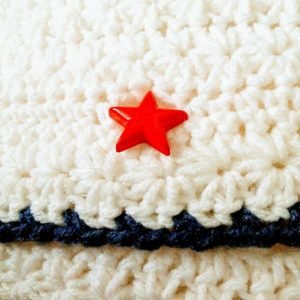
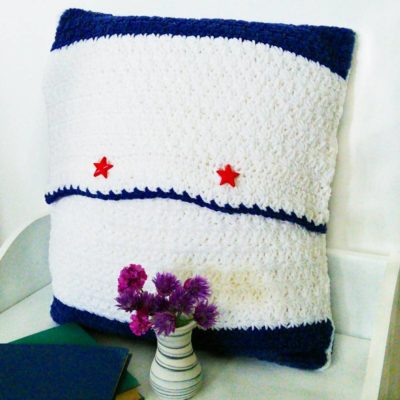
The stars and stripes pillow cover is finished off with two red star-shaped buttons to complement the star stitch, which makes a lovely squishy material that is just perfect to cuddle into. I chose to use a denim blue for this cushion to give it a shabby chic vintage look that matches most modern interiors. The cushion cover will fit an 18 x 18 inch pillow insert snuggly.
Materials
1 skein Red Heart Super Saver – White
1 skein Red Heart Super Saver – Denim
2 x star shaped buttons (2.5 cm diameter)
18 x 18 inch cushion insert
(Using these links for Amazon and LoveCrochet does not cost you any extra but I will earn a small commission, will help me keep posting free patterns).
Pattern notes
The pattern is written using UK terminology, for a conversion chart to US terminology click this link.
Special stitches:
Slip stitch
Front of cushion
Foundation row: Using denim chain 57
Rows 1 – 4: Following the instructions for the star stitch, crochet the stars. At the end you should have 2 rows of stars with 26 stars in each row.
Row 5 onwards: You will repeat this rows 1 to 4, changing colour every time you crochet two rows of stars until you have a total of 9 stripes. Fasten off and weave in ends.
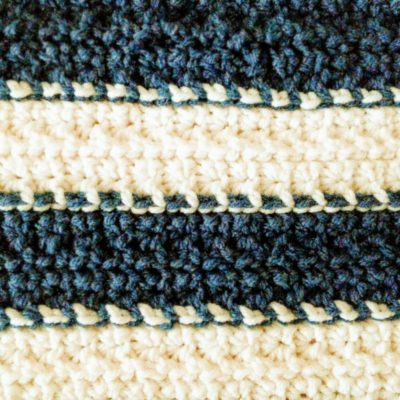
With this stitch there is clearly a right and wrong side – this image shows the wrong side.
Back Piece 1 of cushion
Foundation row: Using denim chain 57
Rows 1 – 6: Following the instructions for the star stitch, crochet the stars. At the end you should have 3 rows of stars with 26 stars in each row.
Row 7 onwards: Change to white and crochet 9 more rows of stars. Fasten off and weave in ends.
Back Piece 2 of cushion with buttonholes
Foundation row: Using denim chain 57
Rows 1 – 6: Following the instructions for the star stitch, crochet the stars. At the end you should have 3 rows of stars with 26 stars in each row.
Row 7 onwards: Change to white and crochet 6 more rows of stars.
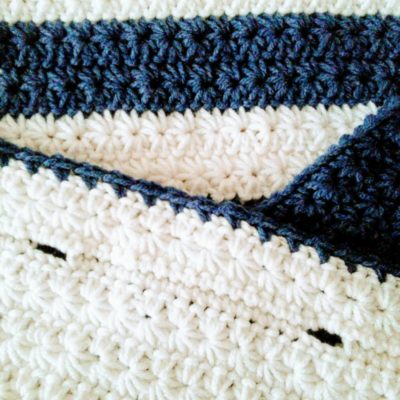
Buttonhole row 1: Continue in white. Chain 1 as turning chain, 15 dc, chain 3, skip 3, 16 dc, chain 3, skip 3, 15 dc..
Buttonhole row 2: Chain 1 as turning chain. 15 dc, 3 dc in 3-chain space, 16dc, 3dc in 3-chain space, 15 dc.
Make 1 final row of stars.
Trim: Change to denim. Dc, *chain 1, skip 1, dc. Repeat from * until end. 1 dc into the final stitch in the row. Fasten off and weave in ends.
You will only need to make a trim on Back Piece 2.
Making up
With back first piece and front, position the pieces together at the top of the front and with the right sides facing in. With white, dc stitch along the sides through both thicknesses to sew the pieces together. Turn so that the wrong sides are now facing in.
With back second piece and front, position pieces together at the bottom of the front and with right sides facing in. (There should be some overlap to where back first piece is attached.) With white, dc along the sides through both thicknesses to sew the pieces together.
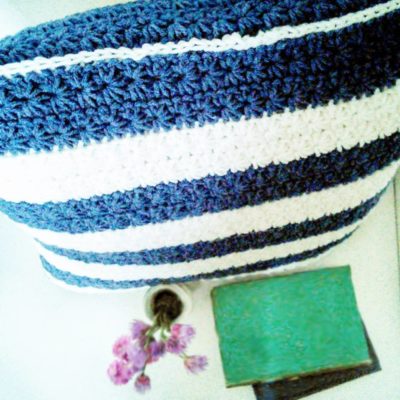
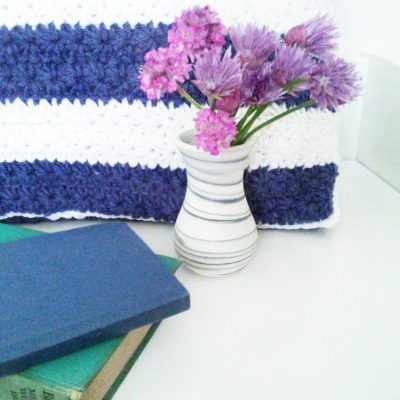
When you have turned the material so the right sides are facing out, the trim will be added. To make the trim, use white and work slip stitches into the dcs that joined the pieces together (the threads of which will be visible when the cushion turned the right way out). In the photo you can see how the trim frames the pillow.
Attach buttons
Now insert the cushion and position the buttons so that they will go through the buttonholes.
As with all my free patterns please feel free to make and sell the crochet items, however, please credit me as the designer where possible and do not sell the pattern itself.
YOU MAY ALSO LIKE
FOLLOW CROCHET CLOUDBERRY
Widget not in any sidebars


