
Blossom Stitch
Who else is loving all the cherry blossom at the moment? Everywhere I go, I see trees covered in beautiful white and pink flowers. And our garden will also soon have its very own cherry tree to add to this show.
I really wanted to use the cherry blossom motif in this blanket and I spent a lot of time this week, looking for suitable stitches. Ultimately, I could not find what I wanted: small five petaled blossoms that could be crocheted in a row, so I ended up making up my own blossom stitch and I hope you like. It is worked in two parts and this week, we are making the first part, with second part coming next week.
This stitch is a little more complex than the stitches I have previously used. If you do struggle with it, I am planning a proper tutorial with photos for it in the coming week, so don’t despair. It will be on the blog as soon as I can get decent photos of the stages.
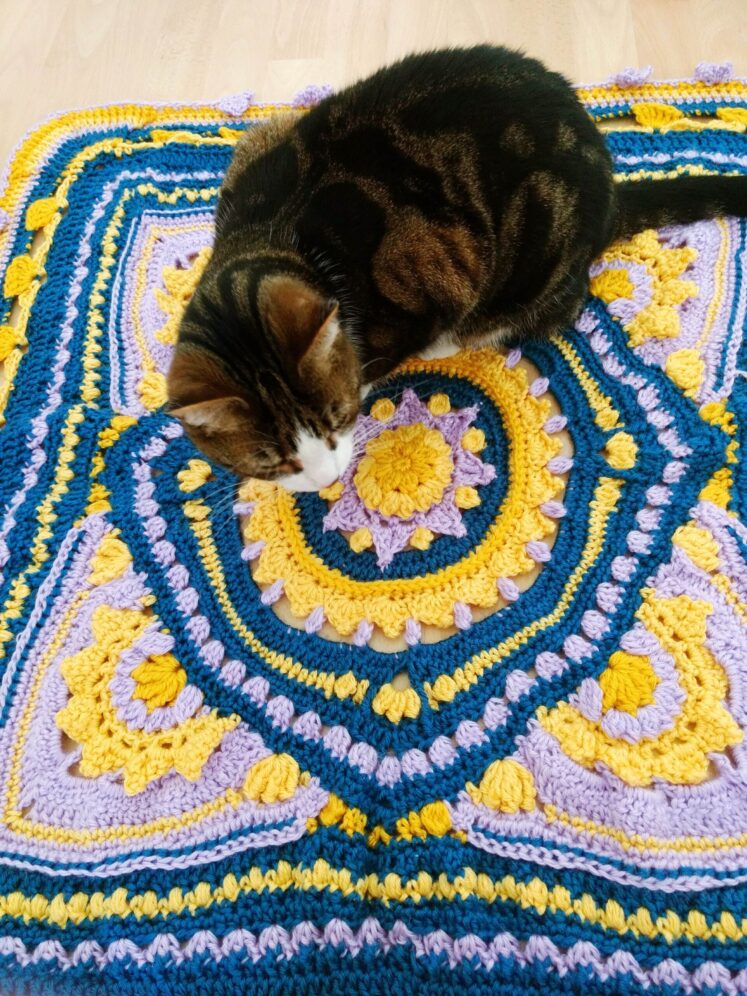
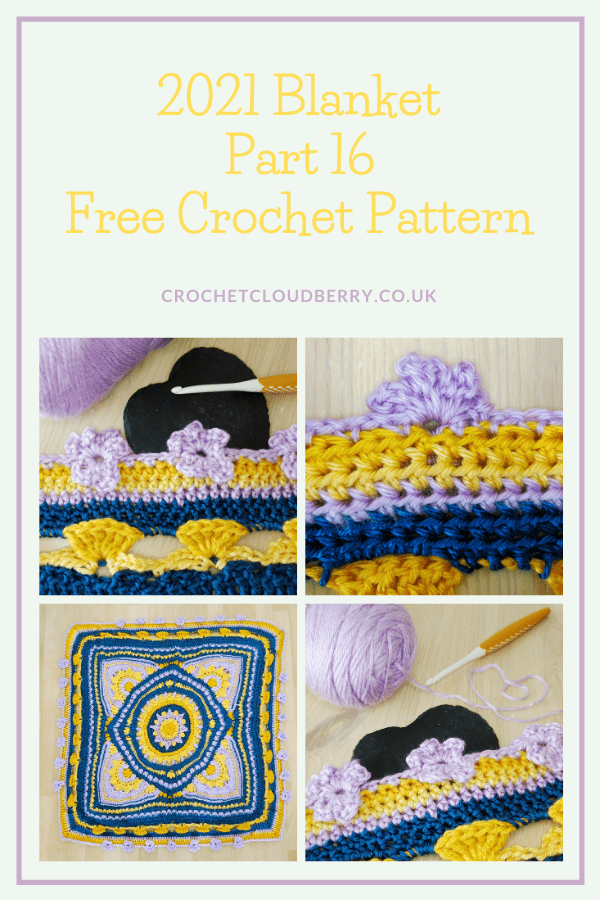
This week, is all about pretty blossoms in Orchid. I hope you enjoy the new blossom stitch.
Materials
Tapestry needle and sharp scissors
Using these affiliate links to LoveCrafts and Yarnspirations will not cost you any extra but will provide me with a small commission to keeping providing free crochet patterns.
Pattern notes
The pattern is written using UK terminology, for a conversion chart to US terminology click this link.
The blanket is worked in the round. You do not need to turn your work after each row and you continue working in the same direction as before.
[Stitches written in brackets like this are all worked into the same stitch.]
For the first stitch on each row: Chain 1 to move up to the next round if the round starts with double crochet. Chain 2 if the round starts with a half treble crochet, and chain 3 if the round starts with a treble crochet. These chains count as the first stitch in the row
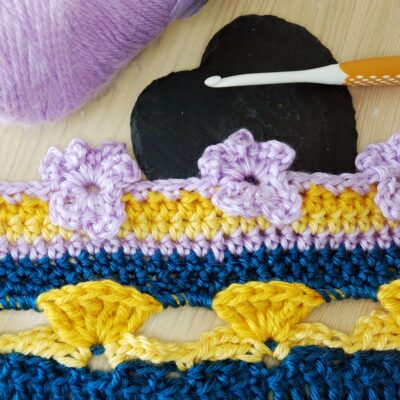
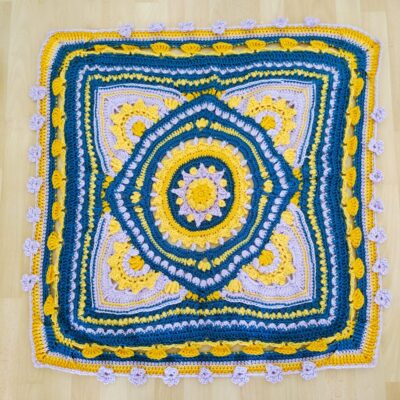
Special stitches
Ch – chain
Dc – double crochet
Tr – treble
Start crocheting here;
Round 18: Blossom stich
Use Orchid
Start in any corner ch-2-sp. [1dc, ch2, 1dc], *ch1, skip 1, dc. From *11 times
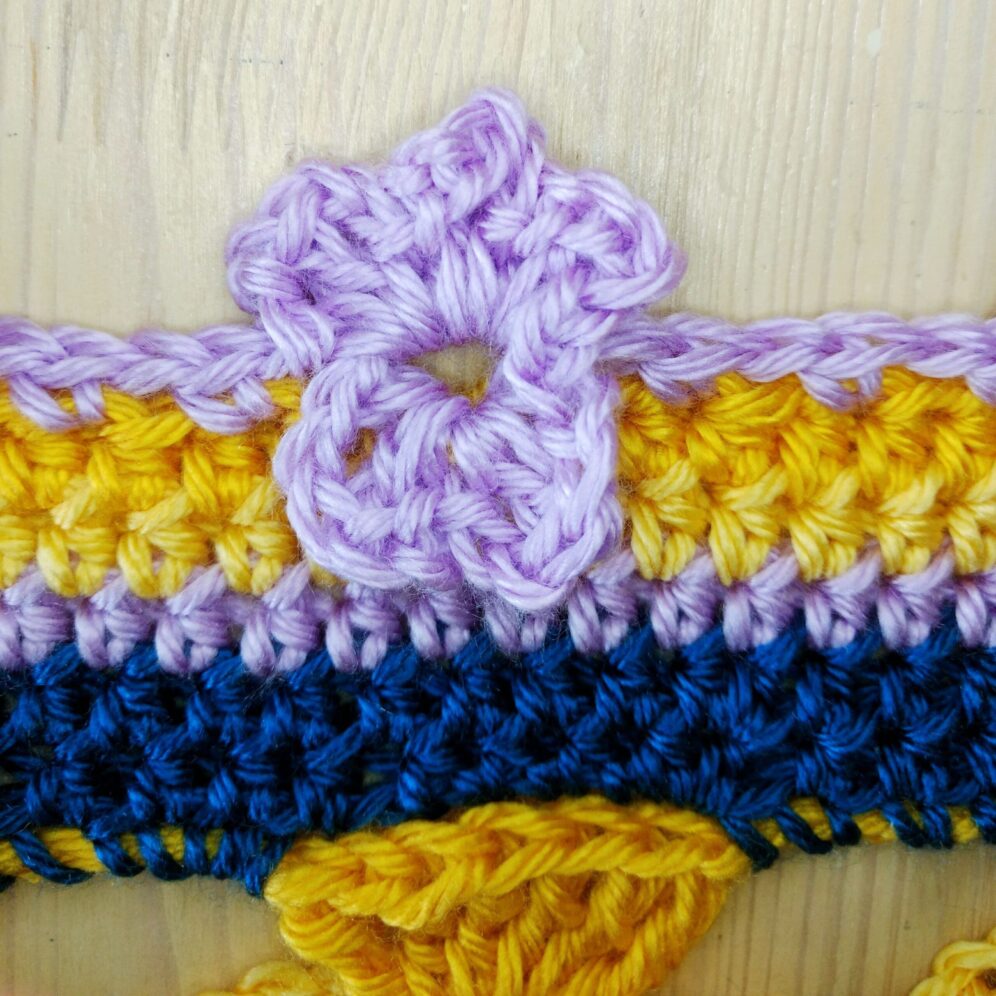
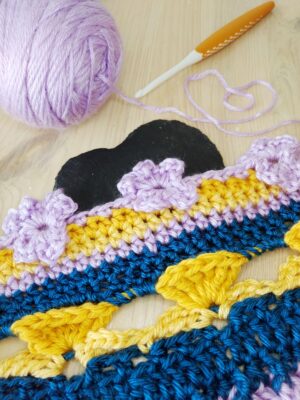
Now we start the first blossom stitch. This stitch is worked around the ch-1-sp that you have just created and you will rotate your work as you crochet this stitch.
Crochet [dc, ch2, tr, ch2, dc, ch2, tr, ch2, dc] into the stitch on round 17 that you just skipped (so that you are working backwards). This creates the two lower petals.
Now rotate your work, so that you are crocheting into the ch-1-sp above the petals you just crocheted. [dc, ch2, tr, ch2, dc, ch2, tr, ch2, dc, ch2, tr, ch2, dc]. This forms the upper three petals and you can see the blossom taking shape.
You finish off the blossom, by skipping the dc that you crocheted just before you started crocheting the petals and crocheting into the next available stitch on round 17. Dc, *ch 1, skip 1, dc. From *4 times.
Crochet a total of 7 blossom stitches and spaces between them in this way.
After you have finished the seventh blossom stitch, crochet as follows: *dc, ch 1, skip 1. From * 10 times.
Crochet all four side of the square. (7 blossom stitches, 53 dc, 38 ch-1-sp and 1 ch-2-sp per side – keep in mind some of the stitches on this side have already been worked into or be obscured.)
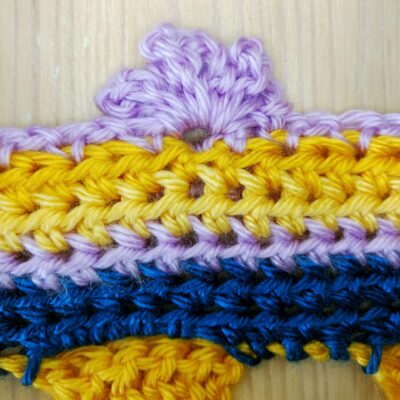
Image opposite/below shows back of blossom stitch.
If you struggled with the blossom stitch, a tutorial with phots will be made available soon.
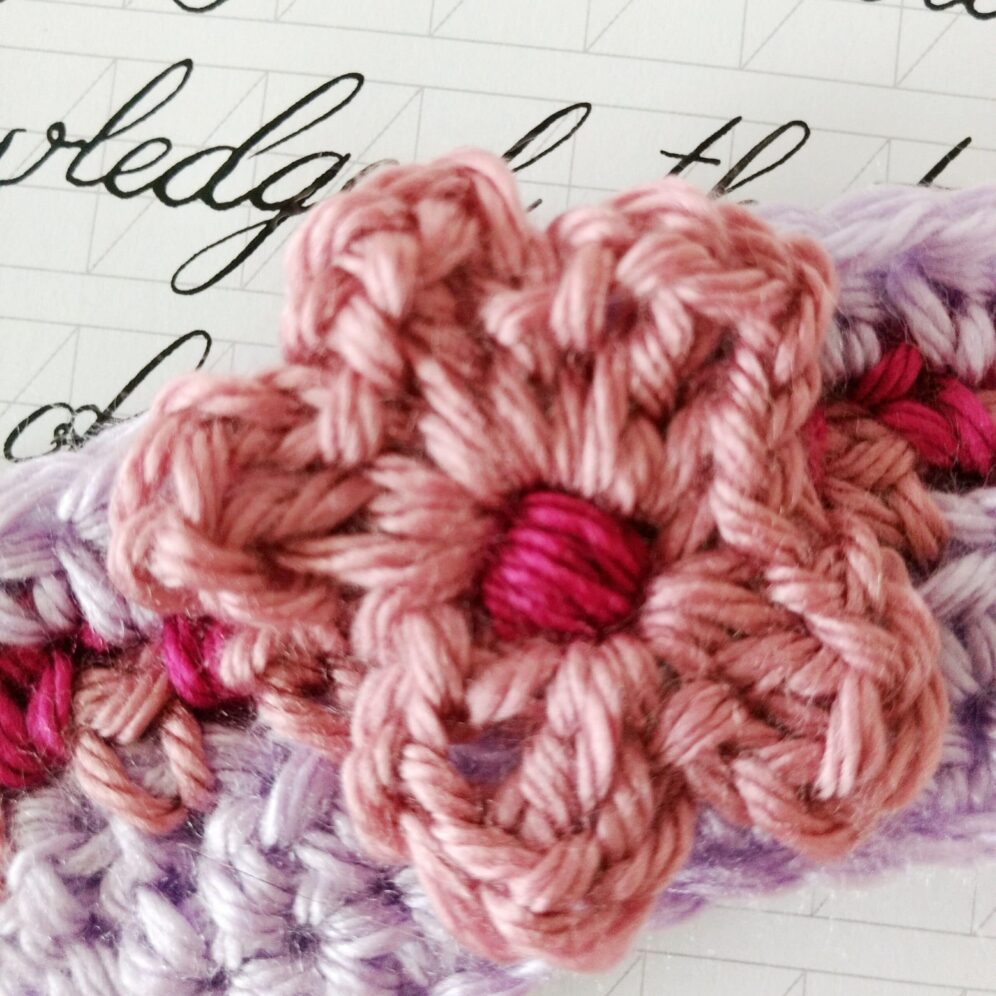
See you next week to crochet the centres of the blossom.


One Comment
Pingback: