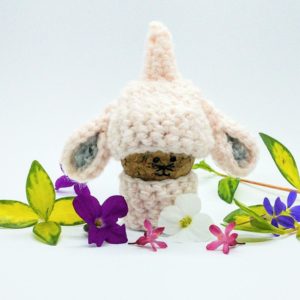
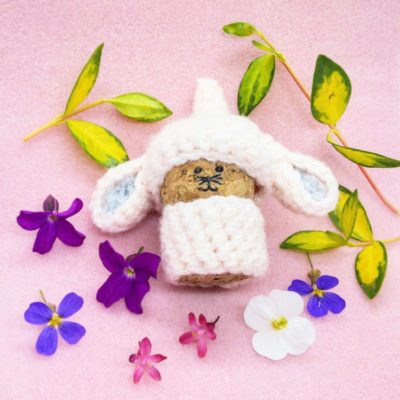
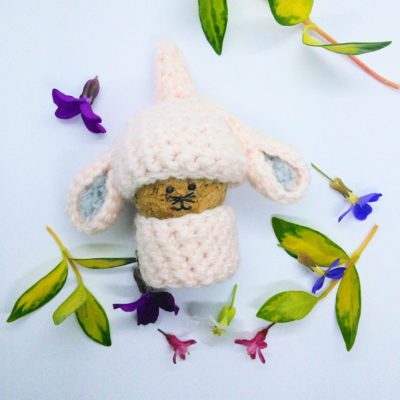
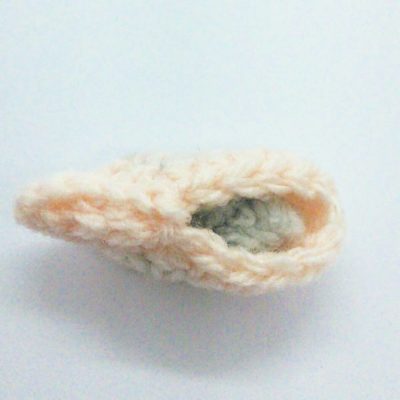
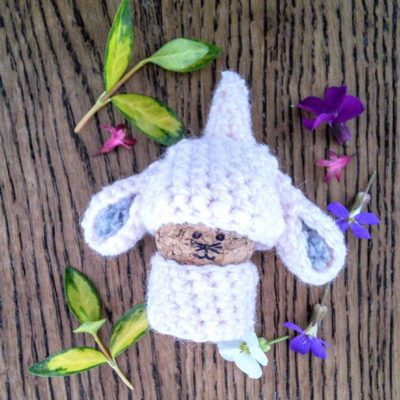
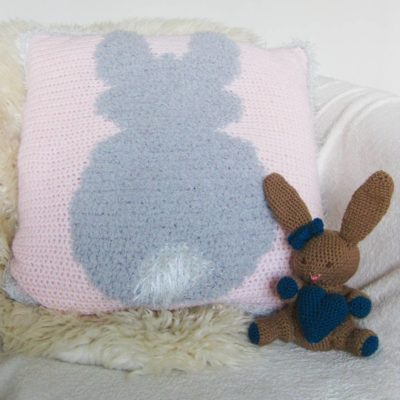
I think I have bunnies on the brain. I’ve been designing my fluffy bunny cushion cover and pattern testing thelove bunny from virkvinga. So it felt obvious that my next crochet cork gnome is a bunny gnome. Especially as Easter is just around the corner. I’ve used some textured yarn for the ears and tail cover to give the bunny some extra fluff.
You can purchase yarn at lovecrochet and supplies from Amazon. (Using these links does not cost you any extra but I will earn a small commission, will help me keep posting free patterns like this).
Pattern notes
The pattern is written using UK terminology, go to the UK to US terminology table for translations.
Chain 1 at the end of every round to move to next round.
Special stitches
dec – decrease dc over two stitches.
Magic circle
Instructions
Body
Foundation row: Using peach. Chain 16 and join with a slip stitch.
Round 1: 1 dc in every stitch around and join with slip stitch. (16)
Rounds 2 to 6: 1 dc in every stitch around and join with slip stitch. Fasten off on round 6. (16)
With the snowflake fluffy yarn, sew over one stitch in the body to make the fluffy tail.
Hat
Foundation row: Using peach, chain 20 and join with a slip stitch.
Round 1: 1 dc into every chain. (20)
Rounds 2 and 3: 1 dc into every stitch. (20)
Round 4: 3 dc, 1 dec. Repeat 3 more times. (16)
Rounds 5 and 6: 1 dc into every stitch. (16)
Round 7: 2 dc, 1 dec. Repeat 3 more times. (12)
Round 8: 1 dec. Repeat 5 more times. (6)
Rounds 9 to 11: 1 dc into every stitch. (6)
From round 12 onwards: dec until the point of the hat has formed. Fasten off.
Ears – Make 2
1st piece
Foundation: Using the fluffy yarn, chain 2.
Round 1: Work into the second stitch on the hook. Work 5 dc into the chain stitch. (5)
Round 2: 2 dc in every stitch around. (10)
Round 3: 1 dc, 1 inc. Repeat 5 times. (15)
2nd piece
Round 1: Using pink, 5 dc into a magic circle. (5)
Round 2: 2 dc in every stitch. (10)
Round 3: 1 dc, 1 inc. Repeat 5 times. (15)
Round 4: Holding the piece worked with fluffy yarn next to the pink piece and working through both of the pieces so that you are crocheting them together. 1 dc in each stitch around.
Then fold ear in half and make 3 slip stitches to form the shape as shown in the photo. Fasten off and then sew ears into place using normal sewing cotton.
If you want to make more cork gnomes, please check out my other free gnome patterns.
As with all myfree patternsplease feel free to make and sell the crochet items, however, please credit me as the designer where possible and do not sell the pattern itself.
2 Comments
Trudy
Thank you for the adorable patterns..
Crochet Cloudberry
So glad you are enjoying them.