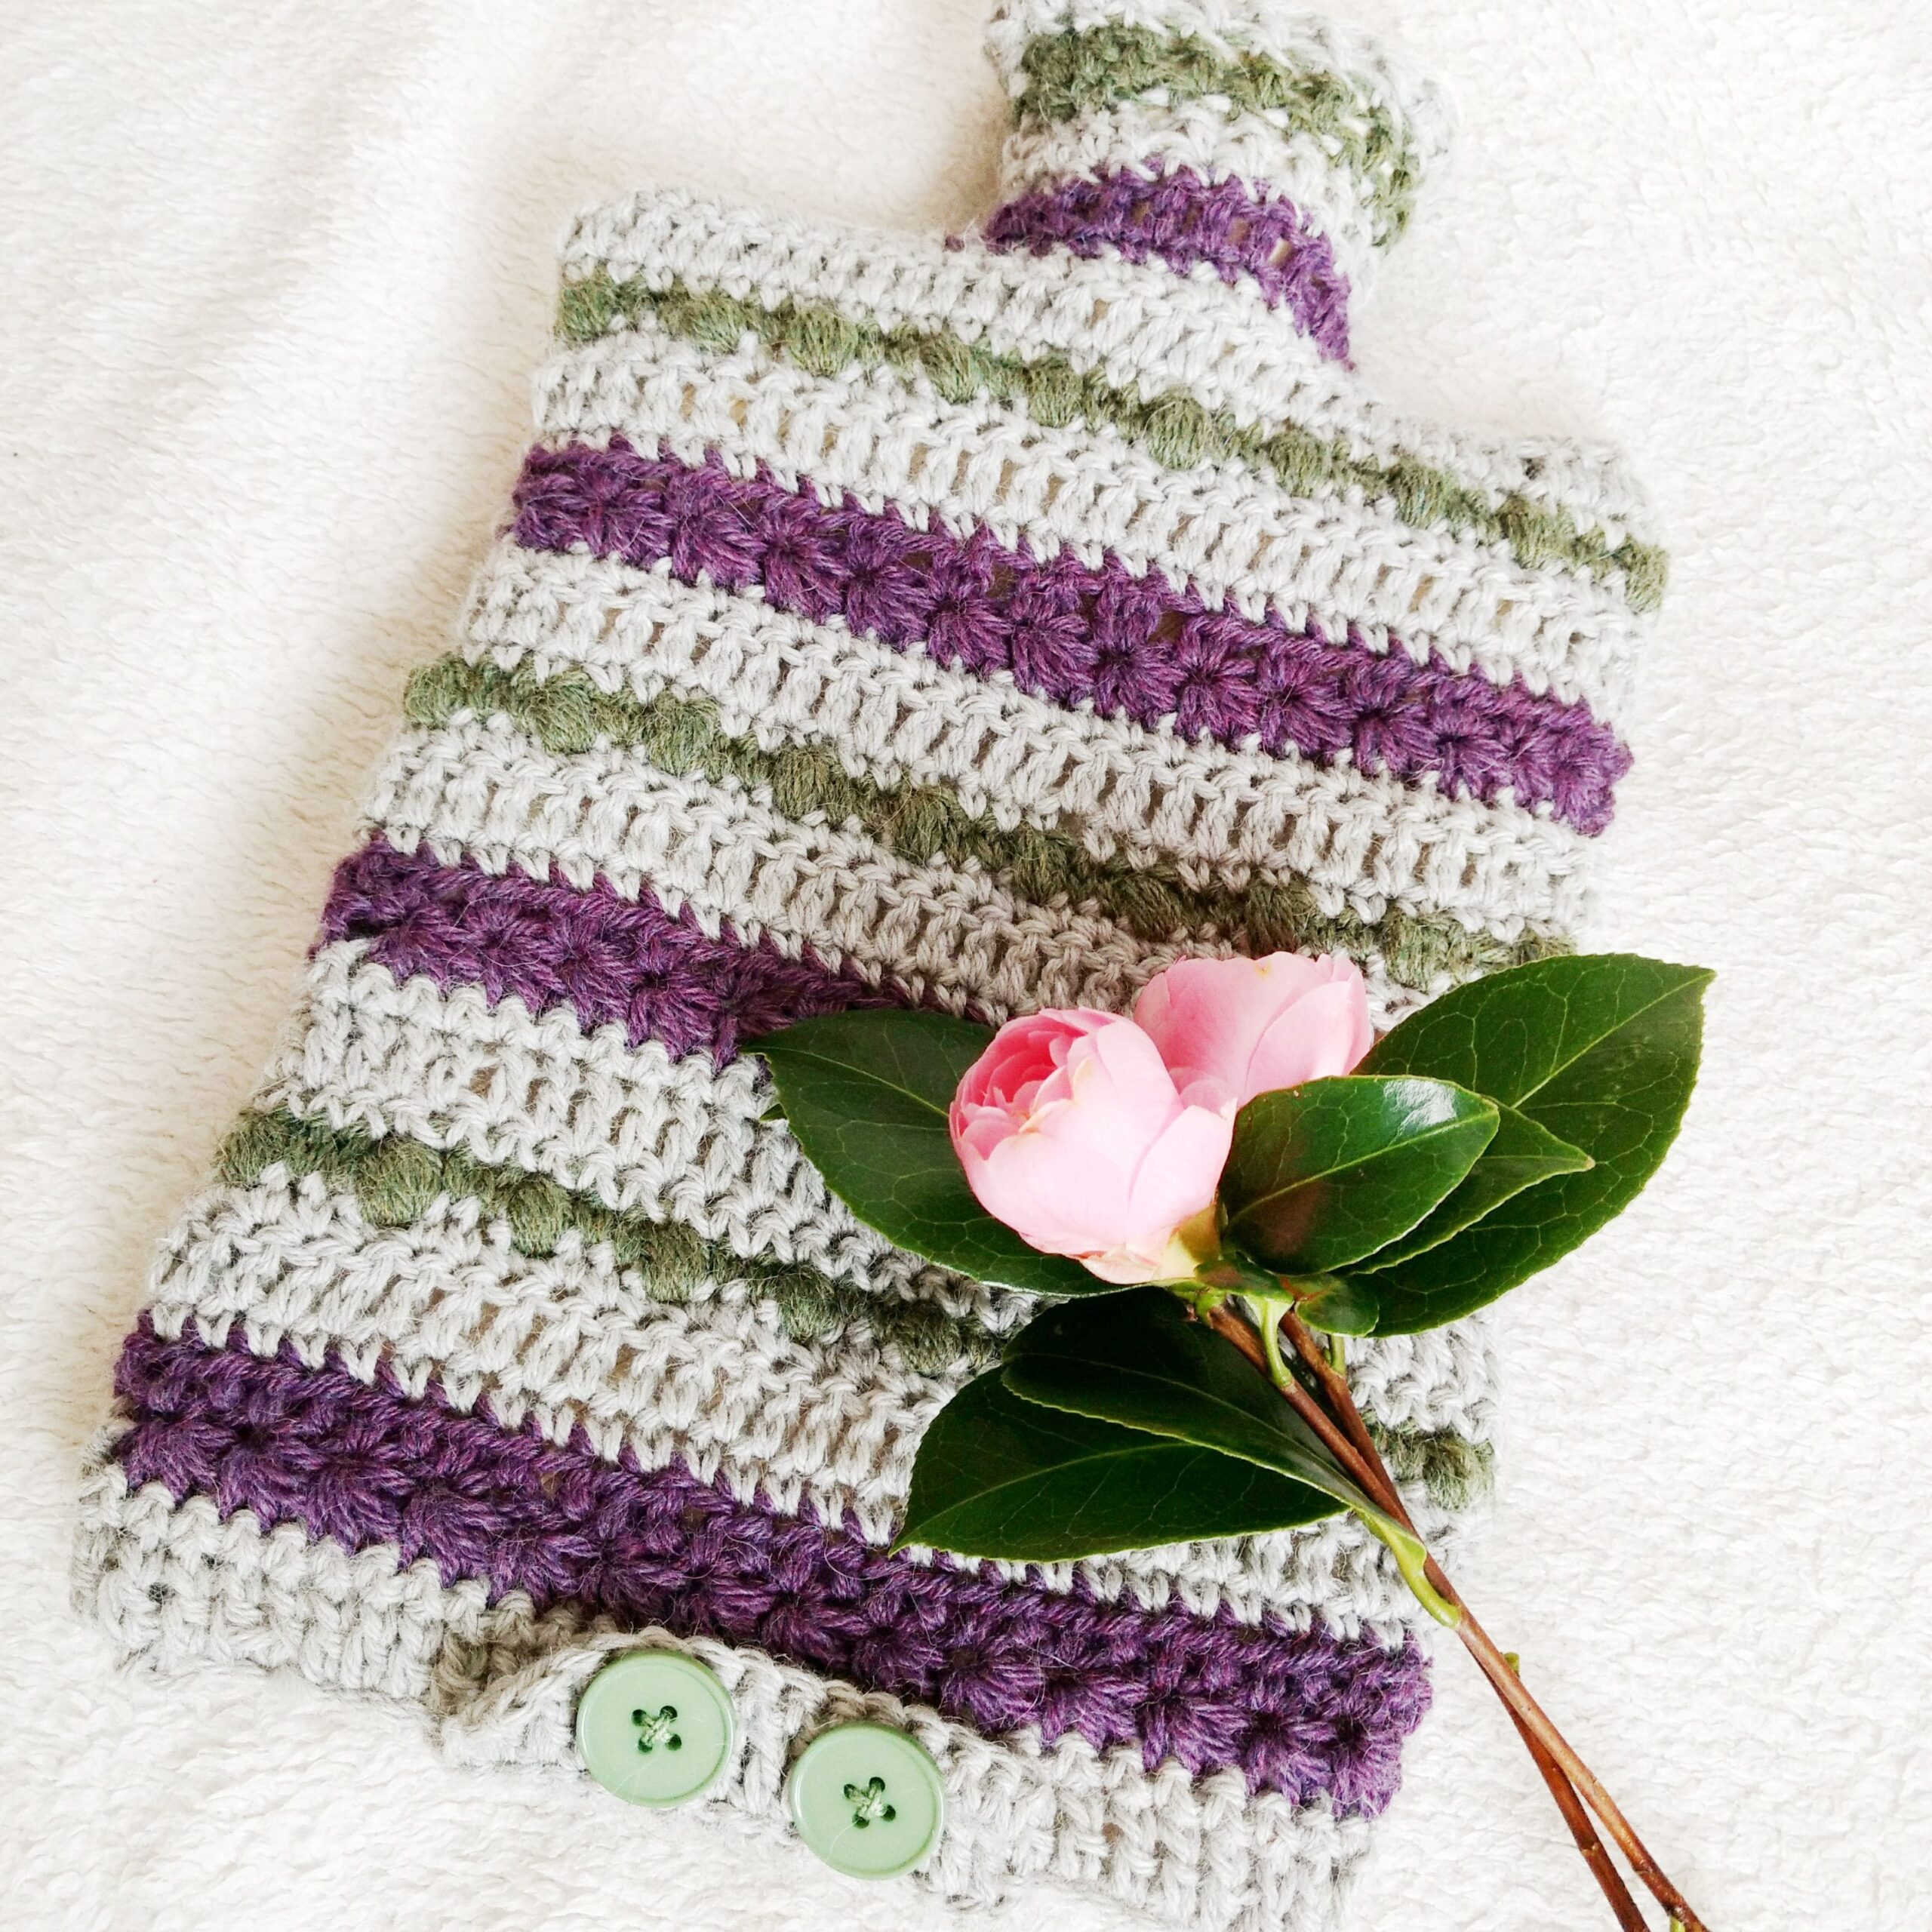
Crochet Hot Water Bottle Cover
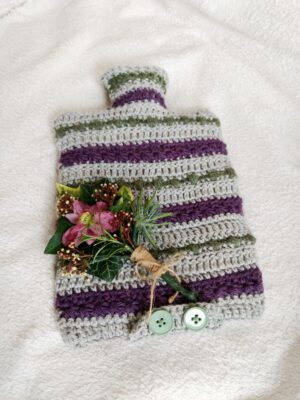
Long time, no crochet! Well not quite but I have been working at a slower pace more recently. Still but I loved making this cosy hot water bottle cover.
The kind people at Hobbii gave me a couple of skeins of their lovely and soft Upcycled Alpaca Blend yarn to try out and I really loved the way it worked up.
Anyway, it’s still very chilly in my neck of the woods, so why not make yourself a snuggly cosy hot water bottle using star stitch and bobble stitch.
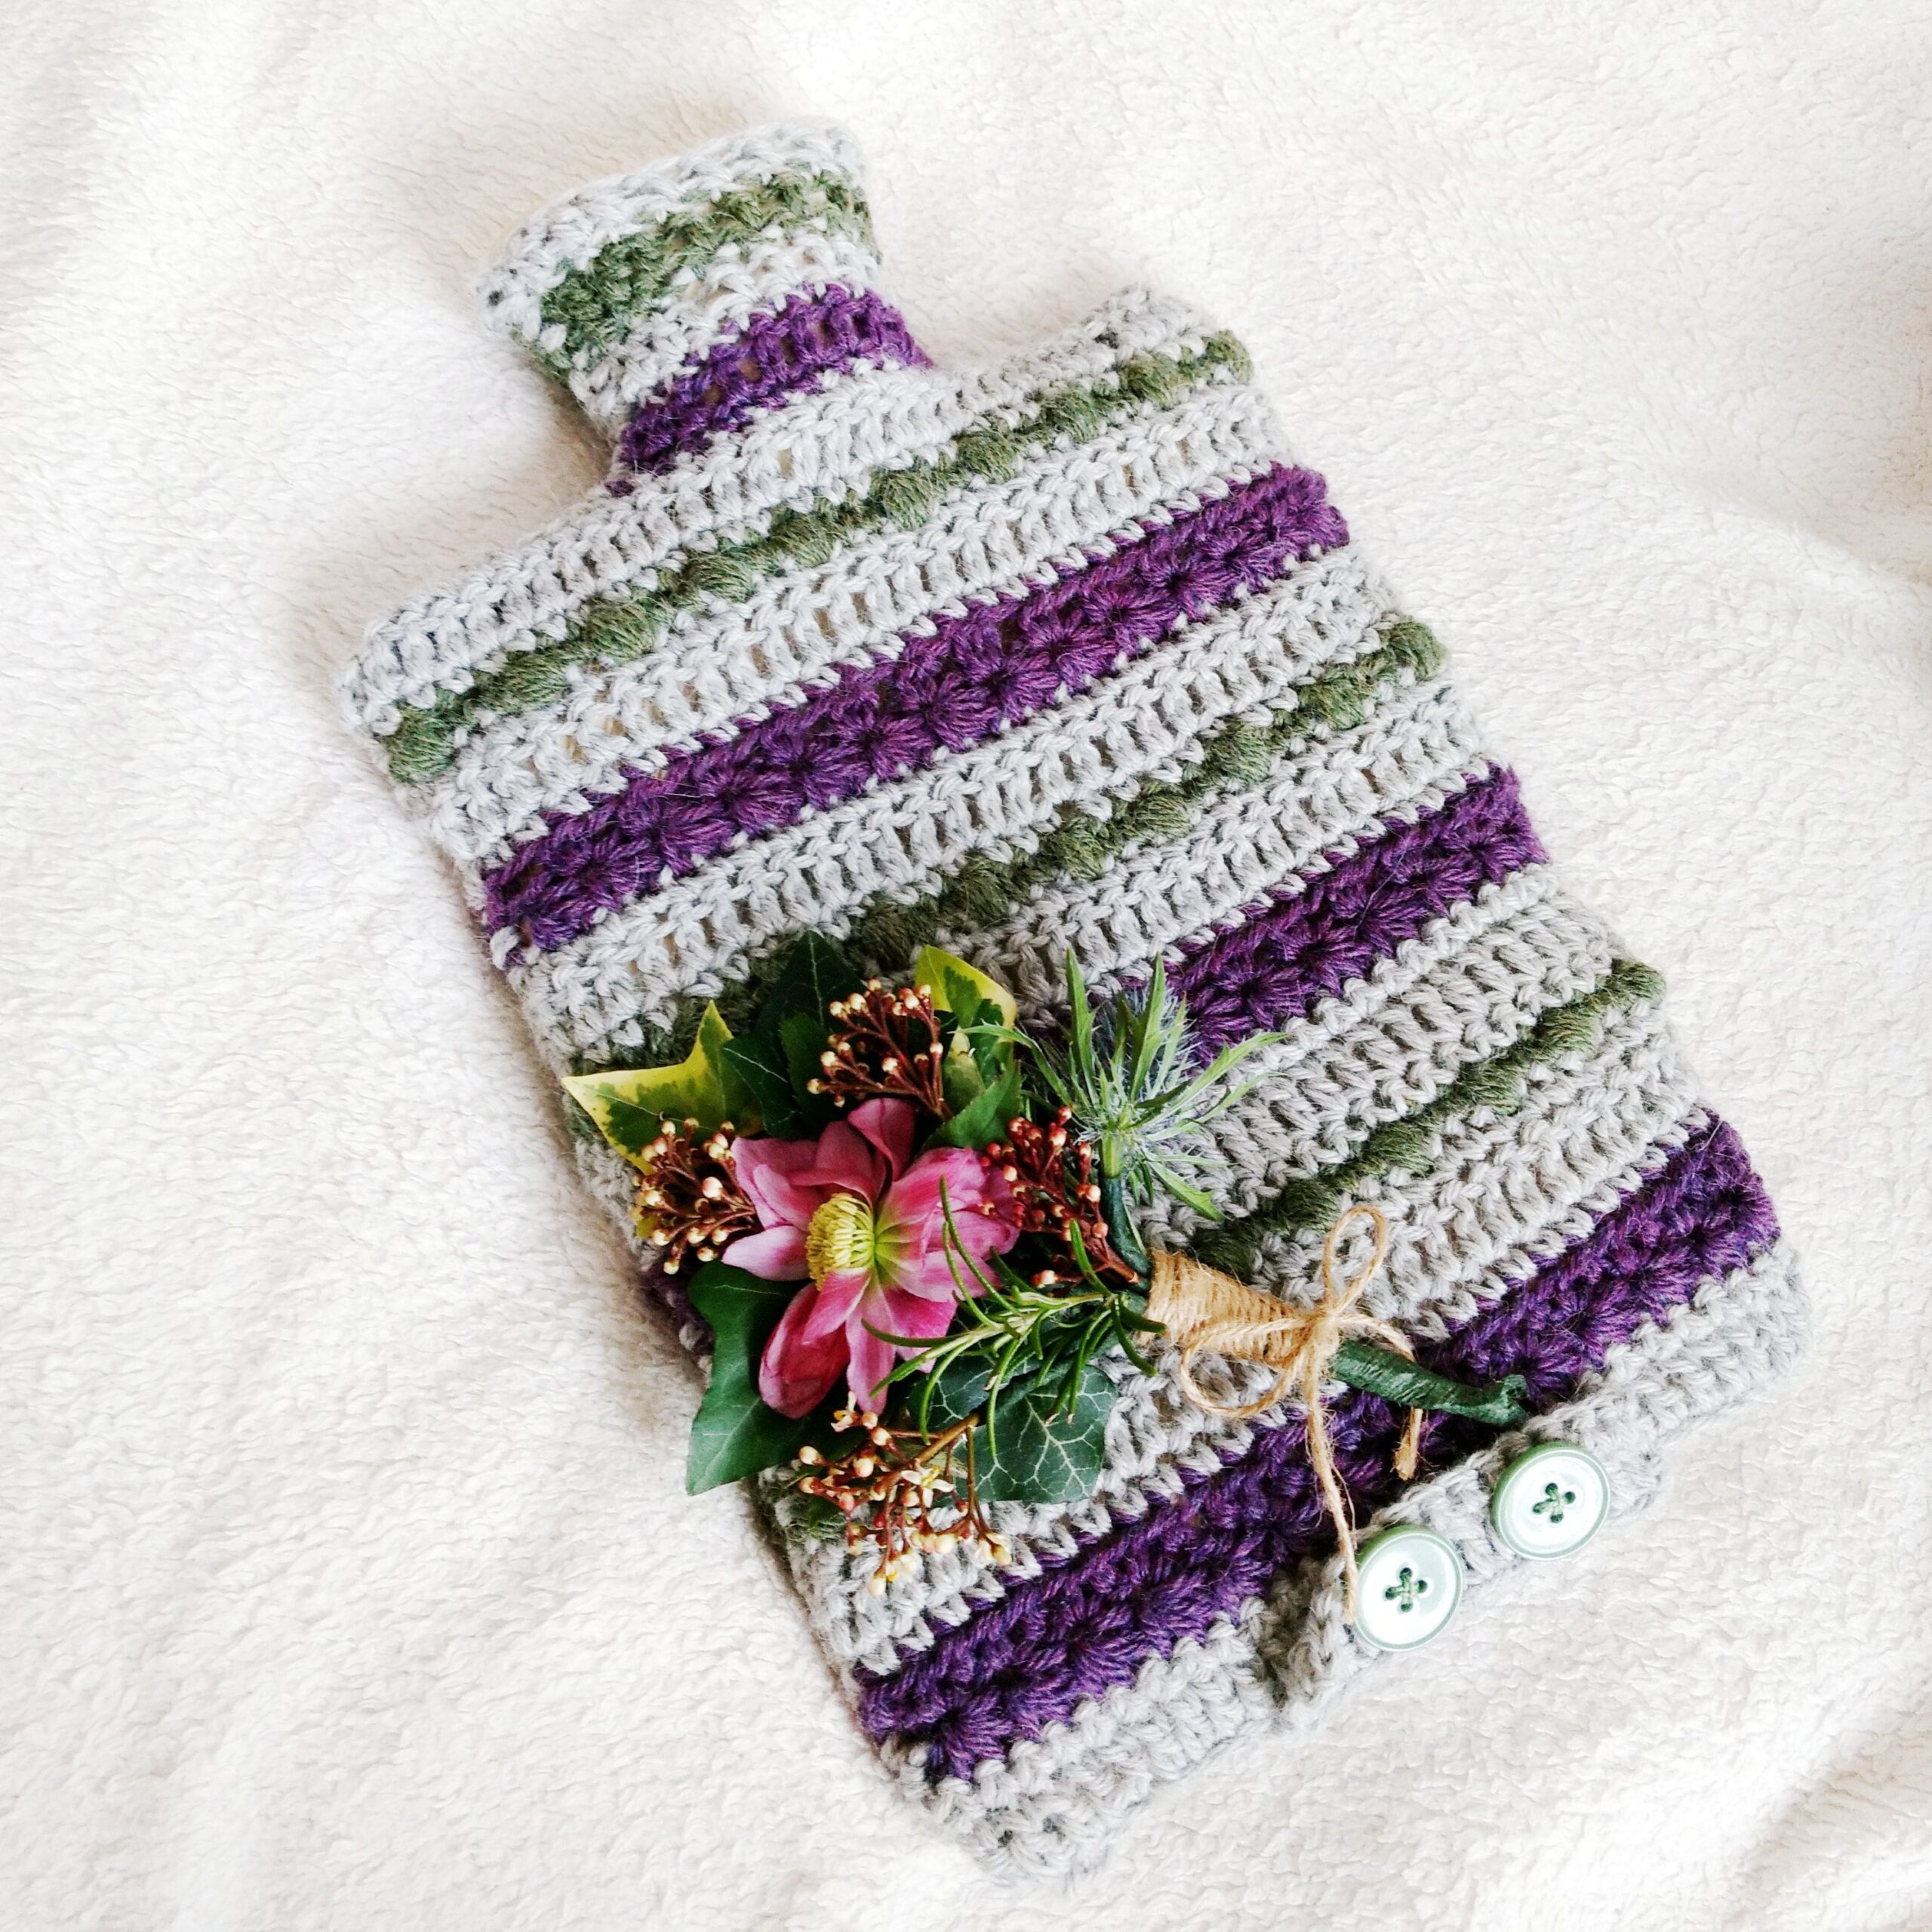
Materials
Hobbii Upcycled Alpaca Blend (Aran weight) in Lichen Royal Purple and Rain Cloud
2ltr hot water bottle
2 x 2cm buttons
Tapestry needle and sharp scissors
Using these affiliate links to Furls will not cost you any extra but will provide me with a small commission to keeping providing free crochet patterns.
For the sake of full disclosure, Hobbii gifted me the yarn for this project.
Pattern notes
The pattern is written using UK terminology, for a conversion chart to US terminology click this link.
The two pieces are worked in rows, and you should turn your work.
[Stitches written in brackets like this are all worked into the same stitch.]
For the first stitch on each row: Chain 1 to move up to the next round if the round starts with double crochet. Chain 2 if the round starts with a half treble crochet, and chain 3 if the round starts with a treble crochet. These chains count as the first stitch in the row.


Special stitches
Bobble stitch (using the base of 4 tr)
Ch – chain
Dc – Double crochet
Htr – half treble
Tr – treble
Ss – slip stitch
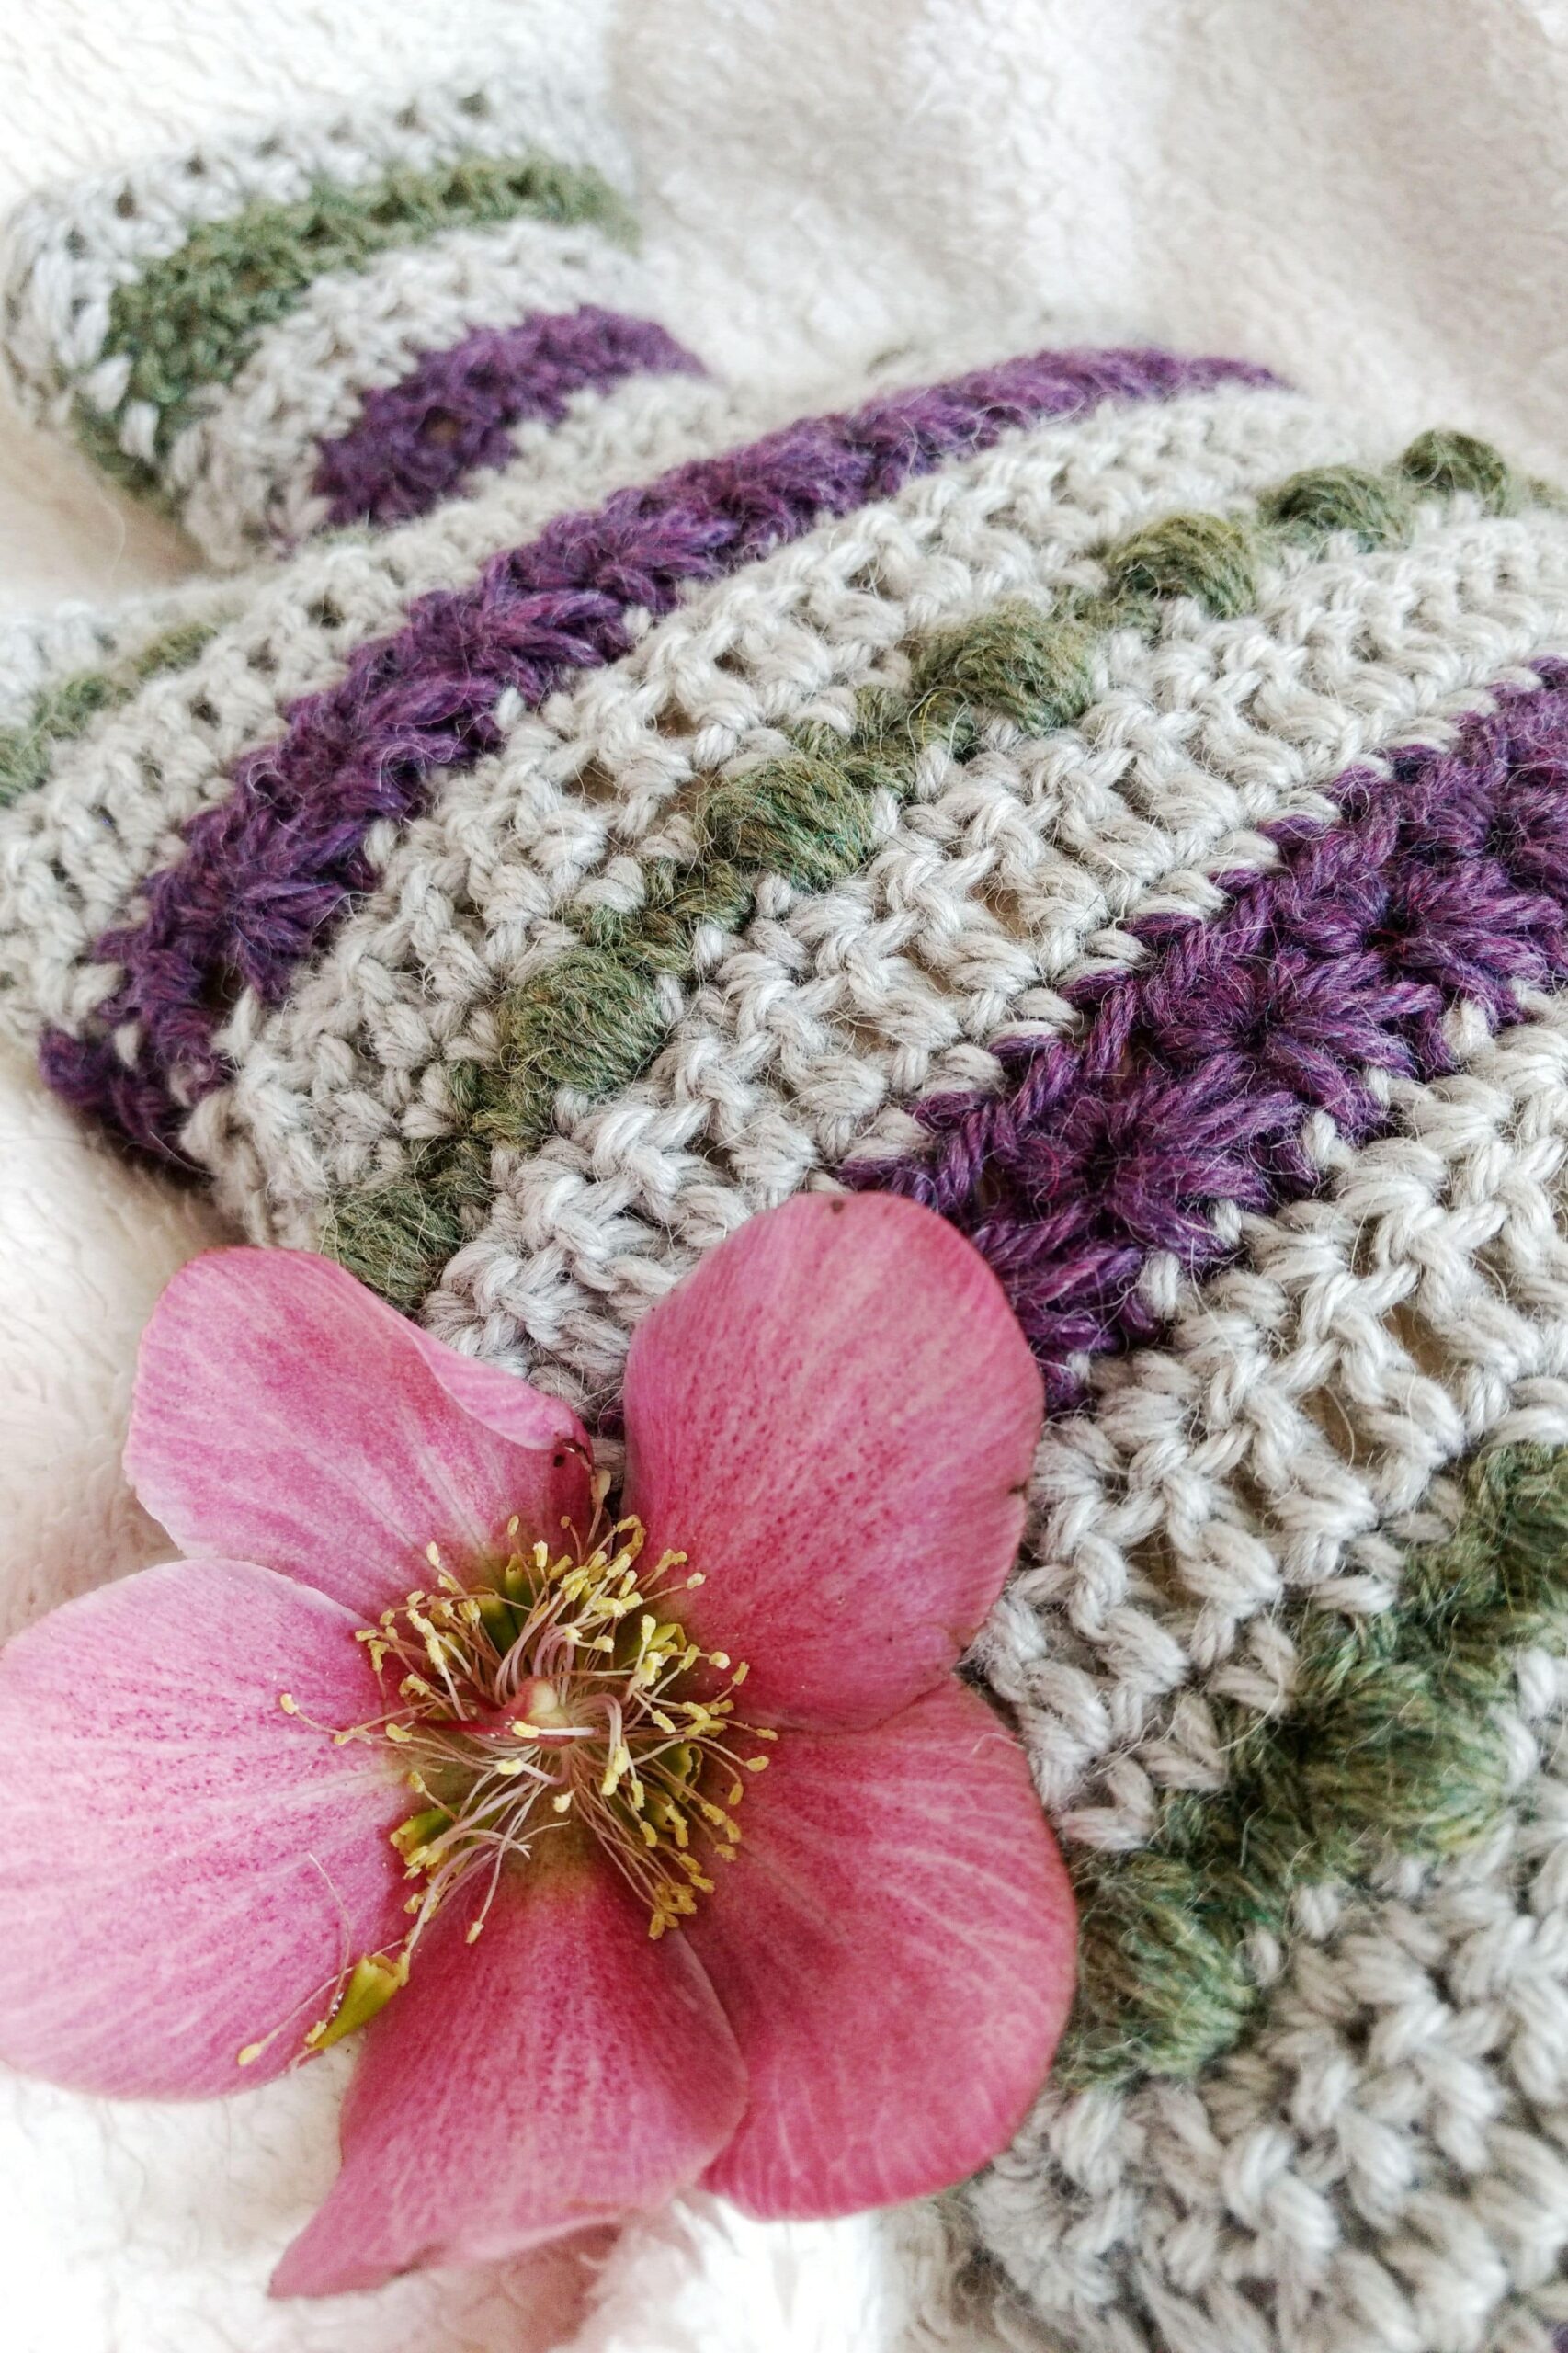
Star stitch – see star stitch tutorial
Start crocheting here:
Make 2 sides.
Foundation. Use Rain Cloud (grey). Ch 29.
Row 1: In second ch from hook (2dc), 26dc, (2dc). Dc across.(30)
Row 2: Tr across.
Row 3: Dc across. Fasten off.
Row 4: Use Royal Purple. Star stitch across and finish with htr. (14 stars)
If you are unfamiliar with star stitch, you can check out my star stitch tutorial.
Row 5: Htr, (2htr) in the centre of each star), htr. Fasten off. (30)
Row 6: Use Rain Cloud (grey). Dc across.
Row 7: Tr across.
Row 8: Dc across. Fasten off.
Row 9: Use Lichen (green). Dc, 4tr-bobble, dc. 10 times. Fasten off.
Row 10: Use Rain Cloud (grey). Dc across.
Row 11: Tr across.
Row 12: Dc across. Fasten off.
Repeat rows 4 to 12 two more times.



Top of bottle.
Row 1: Use Royal Purple. Skip 9, 12 dc, turn leaving 9 stitches unworked. (12)
Row 2: (2trtog), 8tr, (2trtog) (10).
Row 3: Dc across. Fasten off.
Row 4. Use Rain Cloud (grey). Dc across.
Row 5: Tr across.
Row 6: Dc across. Fasten off.
Row 7 to 9. Use Lichen (green) to repeat rows 4 to 6.
Row 10 to 12. Rain cloud (grey) to repeat rows 4 to 6. Fasten off.
Flap for buttons
(only work this on one piece)
Row 1: Use Rain cloud (grey), skip 7, 14 tr, skip 7. (14)
Row 2: 4tr, skip 1, ch 1, 4tr, skip 1, ch 2, 4tr (12 stiches and 2 ch-1-sp)
Row 3: tr across in each stitch and ch sp. Fasten off. (14)
Assembly
With right sides facing in, use Rain cloud (grey) to slip stitch the sides together, ensuring that you leave the top open, and bottom open enough for you to insert the hot water bottle.
Turn so that right sides are facing out and put a hot water bottle into the cover. Pull the tab around and mark the place for the buttons with stitch markers. Sew the buttons in position.
