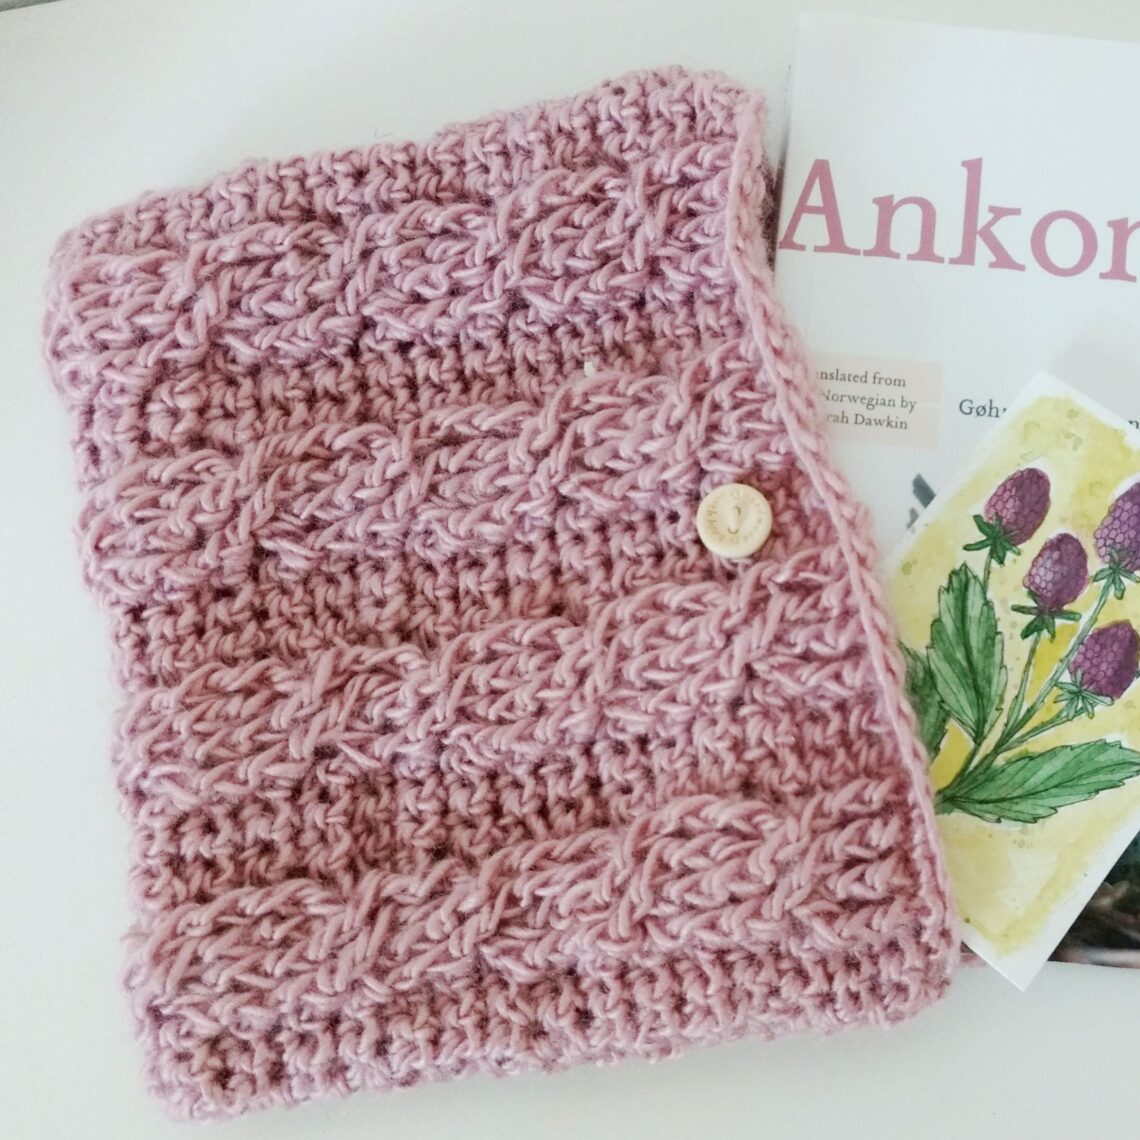
Easy Cable Book Cosy
Christmas in July! Yikes, I bet you are wondering why I am thinking about Christmas now. But July is the perfect time to start thinking about Christmas if you are wanting to make presents for your loved ones. For as we all know, even small gifts are many hours in the making.
When Marie from Underground Crafter asked my to join her make-along, I absolutely jumped at the chance. Together with 27 blogger, we are providing 31 free knitting, crocheting or sewing patterns, so you can start working on your Christmas gifts already ( or make something for yourself). You can check out all the other lovely makes on Underground Crafter.
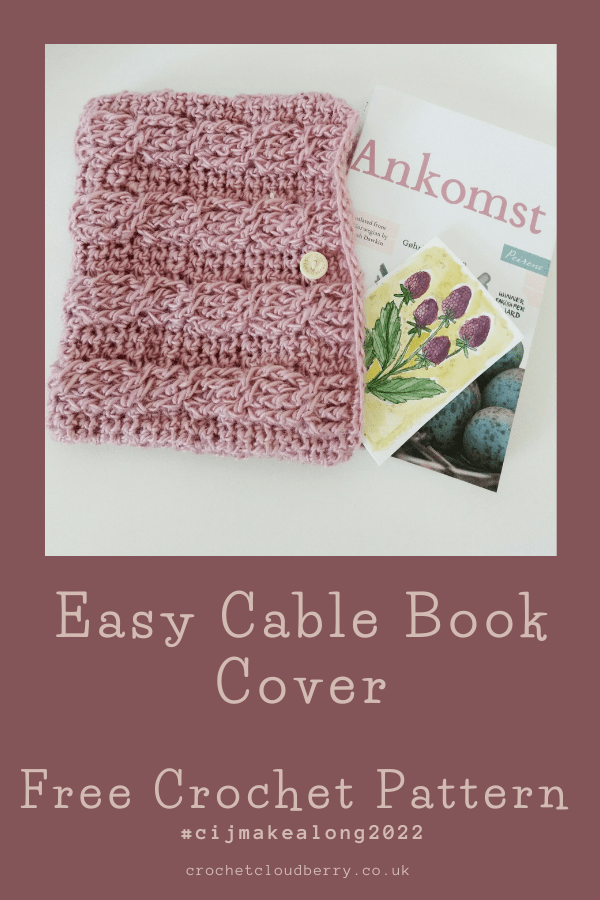
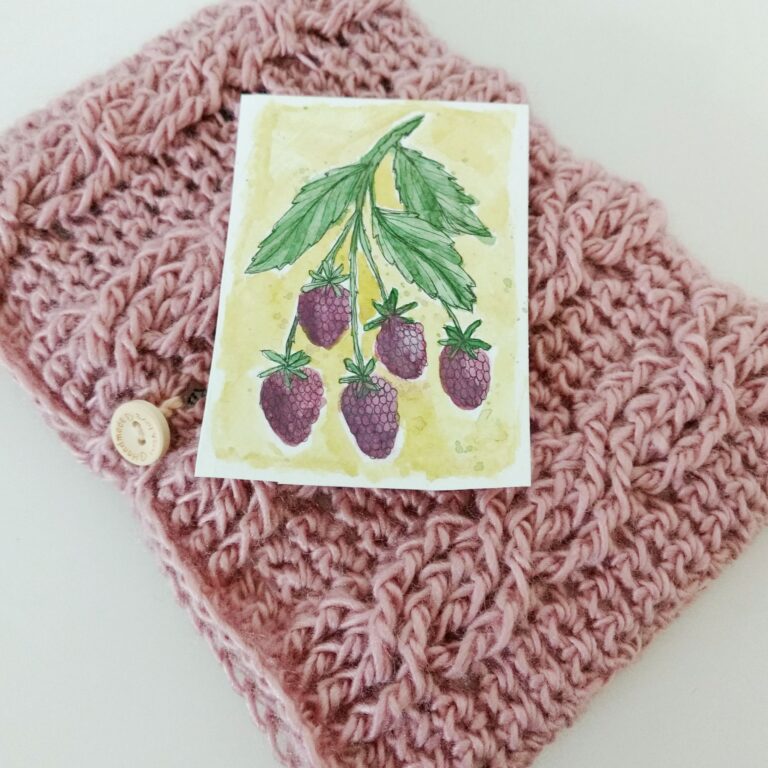
For my turn, I am showing you how to make a book cosy using crochet cables stitches. A book cosy is the perfect gift for your friend or family member who always has their nose in a book. You can make it to the size of their favourite book to protect it from becoming dog-eared, or you could make the gift super personal by filling it with a book that you know they will love.
Materials
Aran yarn in color of your choice (approx. 70g)
5 mm hook
15 mm handmade with love button
Size
Approx. 20 cm x 16 cm
If you want to make this for a larger or small book, simply add or reduce the repeats of cables accordingly.
Pattern notes
The pattern is written using US terminology, for a conversion chart to US terminology click this link.
Special stiches
Ch – chain
Fpdc – front post double crochet
Fptr- front post treble
Sc – single crochet
Instructions
Foundation: Chain 31.
Row 1. Sc in second ch from hook. Sc across (30).
This is a good place to check you gauge – it should measure approx. 20 cm across. If it is larger or smaller, you may want to swap hooks and start again.
Row 2. Sc across (30).
Row 3. This is where we start the cable patterm. 2 sc, *4 fpdc working into the stitches from row 1, 2sc. Repeat from *4 times. (30).
Row 4. Sc across (30).
Row 5. 2 sc, *4 fpdc working around the fpdc from row 3, 2sc. Repeat from *4 times. (30).
Row 6. Sc across (30).
Row 7. The cable cross over occurs in Row 7.
2 sc, skip 2, *work 2fptr over fpdc in row 5, then work 2 fptr into the 2 fpdc you skipped, 2sc. From * 4 times. (30)
This short crochet video shows you where to place your stitches on row 7. It is subtitled (with UK terms and starts on row 6 of that project).
Row 8. sc across (30).
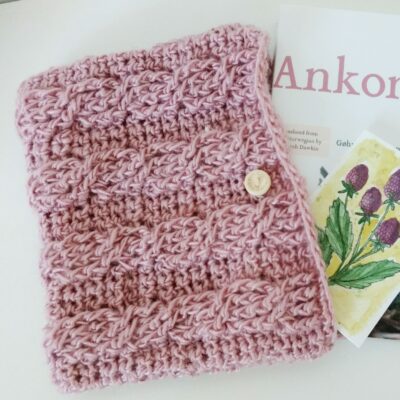
Row 9. 2 sc, *4 fpdc working around the fptr from row 3, 2sc. Repeat from *4 times. (30)
Row 10 sc across (30).
Repeat rows 3 to 10 a total of 8 times (or until you have the desired length). Your final row will be a row of sc.
Do not fasten off.
Assembly
Fold the material in half with right sides facing in. You may find it useful to pin the sides together. Sc both sides together until you reach the fold. Fasten off.
Do the same on the other side, but start from the fold and work towards the edges. Once you reach the edges don’t fasten off.
Turn the cover so the it is facing the right way round. Sew on your button in the top centre of one side (between two sets of cables).


Now add an edging of sc around the top of the cover. When you get to the center of the side without a button, ch a loop large enough to fit over the button (5ch was enough for the small 15 mm handmade with love button), and then continue with the sc to finish the edging. Fasten off.
Now you can insert your favourite book or wrap it up to give to a friend.


One Comment
Pingback: