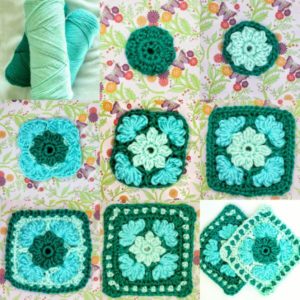
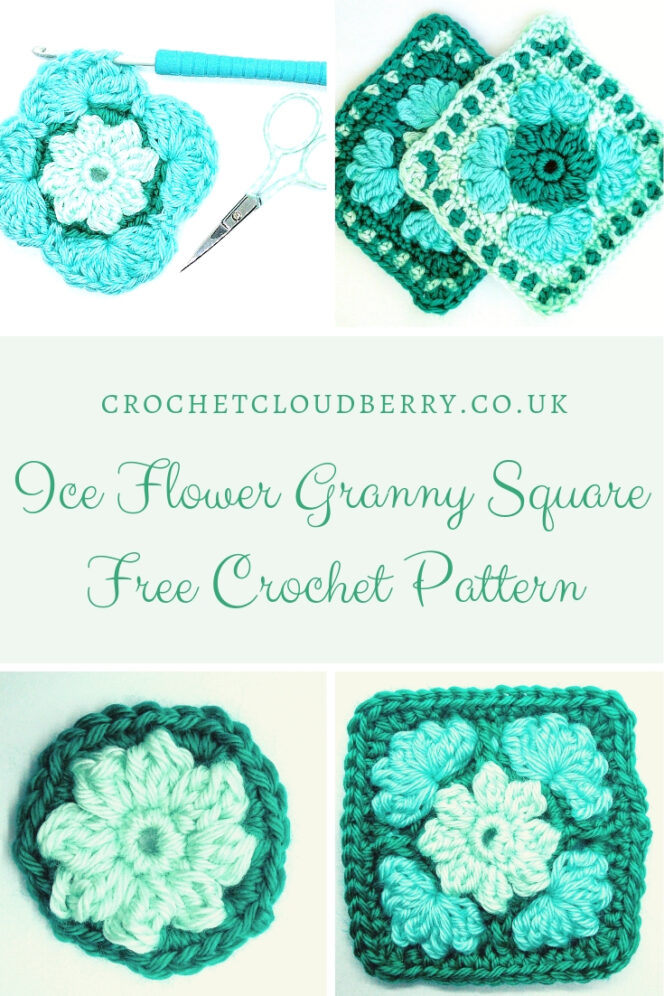
Ice Flower Granny Square
This week I’ve been taking a break from my little gnome friends, as fun as they are, and have been enjoying myself playing with some crochet granny squares. I learned to crochet on granny squares but recently haven’t had much time or reason to make any. Well, it was high time that changed and I’ve been thinking for a while now about crocheting a green blanket to match some new bedding.
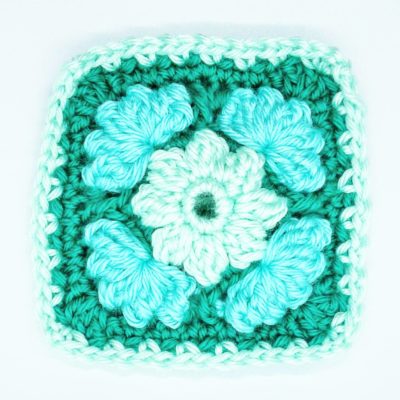
I’ve particularly fallen in love with the cool green (from Caron Simply Soft), which is the darker green in the photos. It really is a deep jewel green that I think is set off well by the two lighter shades (robins egg and soft green). I’ve also spent a while experimenting with the order of the colours and for now I have decided that I want to crochet two versions of the ice flower granny square: one with background colour in cool green and another with the background colour in the very pale green. I love that in winter a lot of flowers are white or green with a lot of foliage and that is also why I wanted to crochet a granny square with both flowers and leaves in green.
The size of the granny square is 5 inches or 12 cm, but I am thinking about adding an edging when joining the squares up to make the blanket.
Below is the free pattern to make the ice flower granny square:
Materials
- 5 mm crochet hook
- Yarn A – Caron Simply Soft – cool green
- Yarn B – Caron Simply Soft – soft green
- Yarn C – Caron Simply Soft – robins egg
(This post uses affliate links in texts and images. Using these links does not cost you any extra but I will earn a small commission, which will help me keep posting free patterns).
If you make this Turkey gnome, I would love to see it so why not tag me on Instagram using #Crochetcloudberry ?
Special crochet stitches and abbreviations
The pattern is written using UK terminology; for a conversion chart to US terminology click this link.
- Magic circle -mc
- 3 treble cluster – 3trcl – for the purpose of this pattern clusters are worked into the same stitch
- 3 double treble cluster – 3dtrcl – for the purpose of this pattern clusters are worked into the same stitch
- Back post double crochet – bpdc
[All stitches written in brackets like these are worked into the same stitch on the round below]
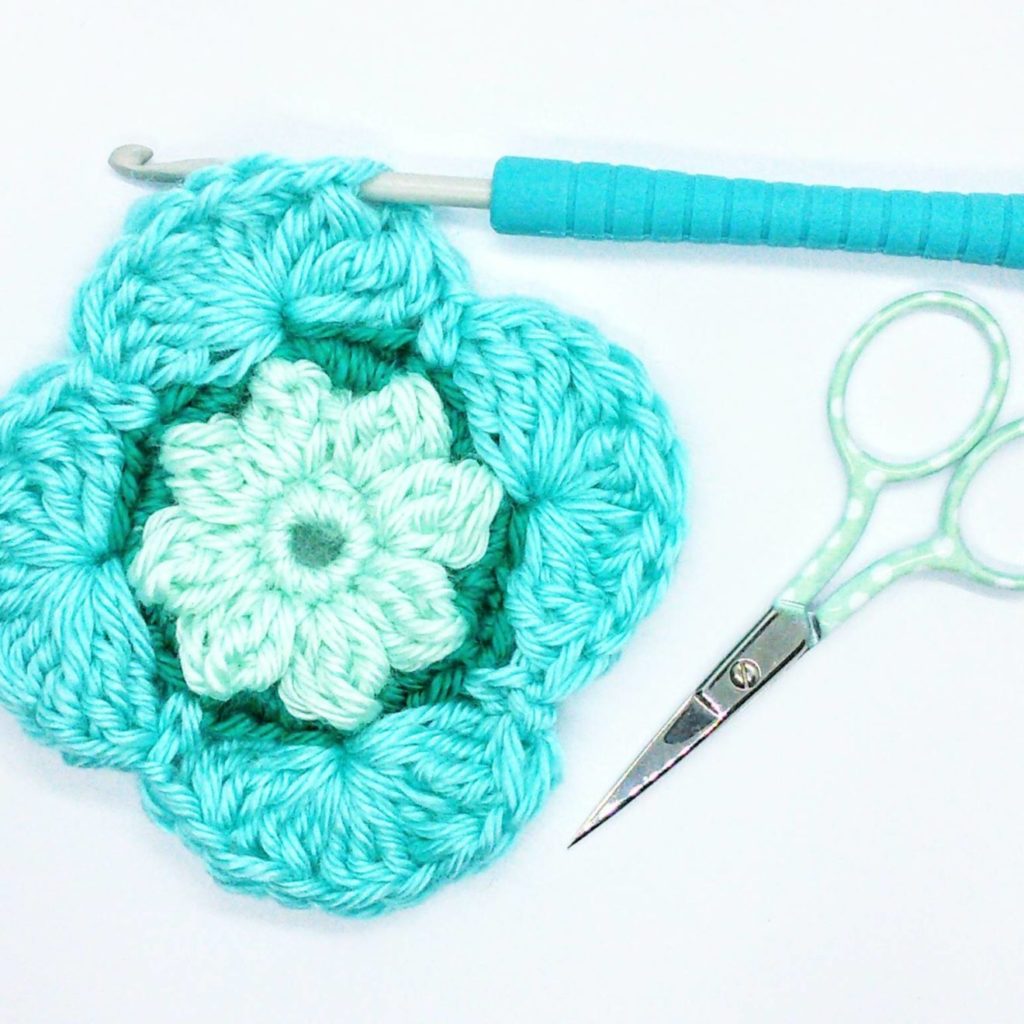

Note: for the photos, I have alternated the colours so that the darker green is always the round that is being worked because the stitches are more easily recognised in the darker green.
Pattern starts here:
Foundation: 8 dc in mc.
Round 1:
Yarn A. Chain 3 [this is the first stitch of your 3trcl), complete 3trcl, chain 2, *3trcl in next stitch, chain 2. Repeat from * until round is complete. Join with slip stitch and fasten off. You should now have 8 3trcl and 8 chain-2-spaces.

Round 2 (on left/above):
Yarn B. 3 dc in any chain-2-space, bpdc into top of 3trcl. Repeat 7 more times. Join with slip stitch and fasten off (32 dc).
Round 3 (on right/below):
Yarn C. Dc into top of any bpdc. *Miss 3 so that you will now be working into the top of next bpdc. [3dtrcl, chain 1, 3trcl, chain 1, 3trcl, chain 1, 3trcl, 1 chain, 3dtrcl], miss 3 so that you will now be working into the top of next bpdc.* 1 dc. Repeat from * to* 3 more times. Join with slip stitch and fasten off.


Round 4 (right/above):
Yarn B. Start left of any dc from previous round. * 1 dc, 1 bpdc over the top of 3dtrcl, 1 dc into chain-1-space, 1 bpdc over the top of 3trcl, 1 dc into chain-1-space, 1 bpdc over the top of 3trcl, 1 dc into chain-1-space, 1 bpdc over the top of 3 trcl, 1 dc into chain-1-space, 1 bpdc over the top 3 dtrcl, 1 dc, 1 tr into bpdc from round 2. Repeat from * 3 more times. Fasten off. Join with slip stitch and chain 1.
Round 5 (left/below):
Yarn B. Dc into the top of stitch where the slip stitch was attached. Dc into next 3 stitches, *htr, [3 tr (this will form the corner], htr, dc into next 9 stitches. Repeat from * 3 times, whereby on the last repeat you only dc into next 5 stitches. Join with slip stitch and fasten off.
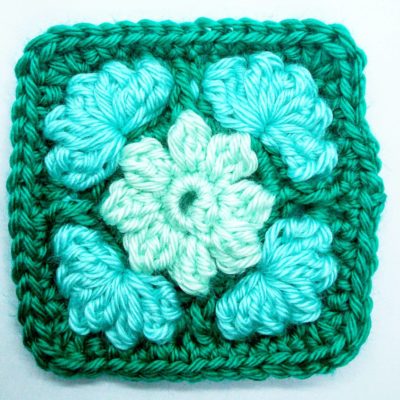
Round 6 (right/above):
Yarn A. Start on central treble of any corner. [1 dc, chain 1, 1 dc], *chain 1, skip 1, dc, repeat from * more 5 times, chain 1. Repeat from beginning 3 more times. Join with slip stitch and fasten off
Round 7 (left/below):
Yarn B. Start in any corner chain-1-space. [3 tr into chain-1-space], *chain 1, skip 1, 1 dc into missed stitch from round 5 (which is below the next chain-1-space and in this way you cover the chain). Repeat from * 6 more times. chain 1. Repeat from beginning 3 more times. Join with slip stitch and fasten off.

I hope you enjoyed crocheting the Ice Flower granny square. If you have tried it with other colours, please do let me – I am curious to see what they look like.
As with all my free patterns please feel free to make and sell the crochet items, however, please credit me as the designer where possible and do not sell the pattern itself

FOLLOW CROCHET CLOUDBERRY ON SOCIAL MEDIA
LET’S STAY IN TOUCH


13 Comments
Anonymous
Thanks for this. I like the colours you’ve used – and I love the yarn name Robin’s Egg! The flower in the middle of the square looks like it gives a 3D effect to the pattern.
Crochet Cloudberry
Your are welcome. The way the stitches are worked in clusters make the central flower and the leaves slightly raised.
Betty Townley
The link for the American pattern isn’t working. I love this square. Could you please fix the link? Thank you so much!
Crochet Cloudberry
Hello Betty, Thank you for pointing that out. I have fixed the link to the conversion chart for American terms. I hope that it works now. If you have any questions about the terminology, please just let me know. Have a great weekend!
Cat
Deb
Hi Cat, Thank you for the really pretty granny square patterns and I absolutely love the colors! Very beautiful work.
Crochet Cloudberry
Thank you Deb, I am so glad you like it. Happy crocheting!
Gillian Utting
Thank you for the UK version weeding.Ive just made one, o problem at all, but I do like the look of the yarn you are using. The last big thing I made in crochet was a virus pattern shawl using a multi ball of really lurid colours. It was stunning and my friend loved it.
Crochet Cloudberry
Glad you enjoyed the pattern. The shawl sounds amazing, not surprized your freind loved it:)
Helen Few
Could you please give me some idea as to how much yarn I would need to make 80 of each colour mix. I am wanting to make a blanket for my granddaughters bed. Many thanks.
Crochet Cloudberry
OH what a lovely present for your granddaughter. Unfortunately, I have not made so many of these squares (I finished my blanket off with stripes), so I can’t give you measurements. I would recommend working out how much you will need altogether by weighing the yarn balls before and after making one square to find the amount needed for one square, and then multiplying this amount by 80 and dividing the amount by the weight of the yarn balls you are using. That should give you the amount of balls that you will need. Hope that this helps.
Hanna
Im really sorry but I just can’t get this right. In row 4 it says to tr into bpdc in row 3? But there is no bpdc in row 3. It looks like youve gone into row 2 on the picture and done a fptr? But that doesn’t look right to me either. I also think the * is placed wrong in row 3, otherwise i skip two 3dccl in a row?
Also the last part I just can’t get right. Go in to row 5. Ch1, skip 1, go in to row 5. So I never go into round 7 except for the corners? That row just doesn’t become right for me. Also my bpdc around “the top” does not nearly look like yours… i did a bpdc around the middle stitch in a cluster thinking that that was what you meant but it looks really wrong…
Crochet Cloudberry
Hello Hanna,
Thanks for your comments. I have corrected round 4, as you do indeed working into round 2 rather than round 3.
In the last round, round 7, that is correct, you mainly work into round 5 apart from the corners where you work into round 6.
I hope that helps.
Cat
Pingback: