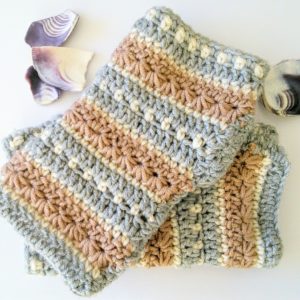
January Sky Wrist Warmers
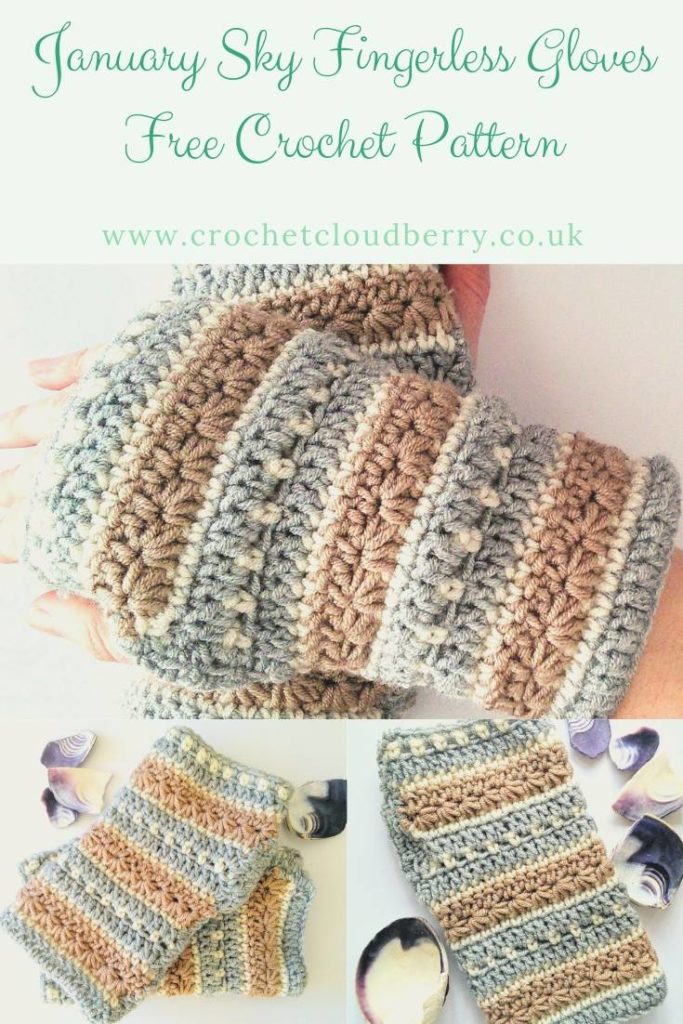
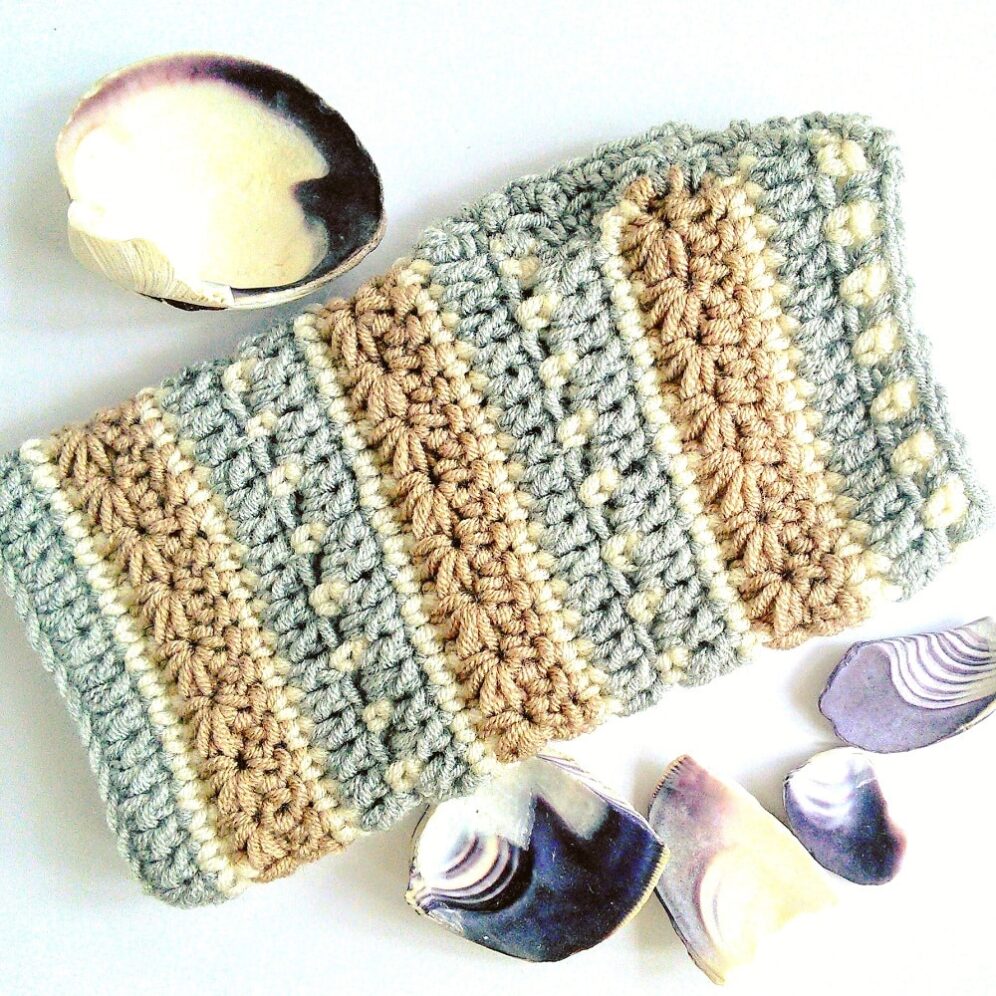
A few weeks ago, I talked about how the January sunset had inspired me to crochet some wrist warmers for myself. I have now made a few tweaks to the design and I would love to share with you my free pattern for the January sky wrist warmers. You can read about my inspiration here.
Add these wrist warmers to your Ravelry queue.
Materials
- Stylecraft Bellissima silver lining
- Stylecraft Bellissima toasted almond
- Stylecraft Belissima single cream
- 4 mm Poney easy grip crochet hook
- Bodkin
- Stitch markers
You can purchase yarn at lovecrochet and hooks and accessories at Amayon. (Using these links does not cost you any extra but I will earn a small commission, which will help me keep posting free patterns).
Stitches used
Star stitch using the stitches below:
- Chain
- Double crochet – dc
- Half treble crochet – htc
- Treble crochet – tc
Pattern notes
This pattern will fit a small women’s hand. If you would like to make it bigger simply add extra chains on the foundation row until you get the desired size. Always make sure that the number of chains on the foundation row is divisible by 2, plus 3.
Rows 3 and 4 form the star stitch. I have given instructions below, but you can also check out my star stitch tutorial.
Make sure every time you attach a new yarn colour that you are working on the right side.
Instructions
Foundation row: Using silver, chain 32 plus 3 chains to turn. These 3 chains form the 1st tr in row 1.
Row 1: 1 tr in 4th chain from hook. 1 tc in every chain to the end and then fasten off.
Row 2: Change to cream and attach yarn. 1 dc into every tc on previous row.
Row 3 (This is the row where the star stitch starts.) Change to toasted almond and attach yarn. Chain three. Insert hook in second chain from hook, yarn over and pull through. Do not finish the stitch so that you should now have 2 loops on your hook. Then insert hook in next chain, yarn over and pull through, as before do not finish stitch so that you now have 3 loops on your hook. Insert hook in first dc on row 2, yarn over and pull through so that you now have 4 loops on your hook. Repeat this step for the next 2 dc on row below until you have 6 loops on your hook. Then yarn over and pull this loop through the six loops already on your hook. Chain 1 to complete eye of the star.
The remainder of the stars in the row are worked into the side of the previous star. Insert hook into eye of previous star yarn over and pull through – do not finish the stitch so that you should now have 2 loops on your hook. Insert hook into the space between the last 2 stitches of the previous star, yarn over and pull though, you should now have 3 loops on your hook. Insert hook into the same dc that you worked the last stitch of the previous star, yarn over and pull through, so you should now have 4 loops on your hook. Insert hook, yarn over and pull through for the next 2 dc until you have 6 loops on your hook, yarn over and pull through, then chain 1 to complete the eye of the star.
Continue until end of the row where there should be one stitch from previous row remaining. 1 htc in this stitch.

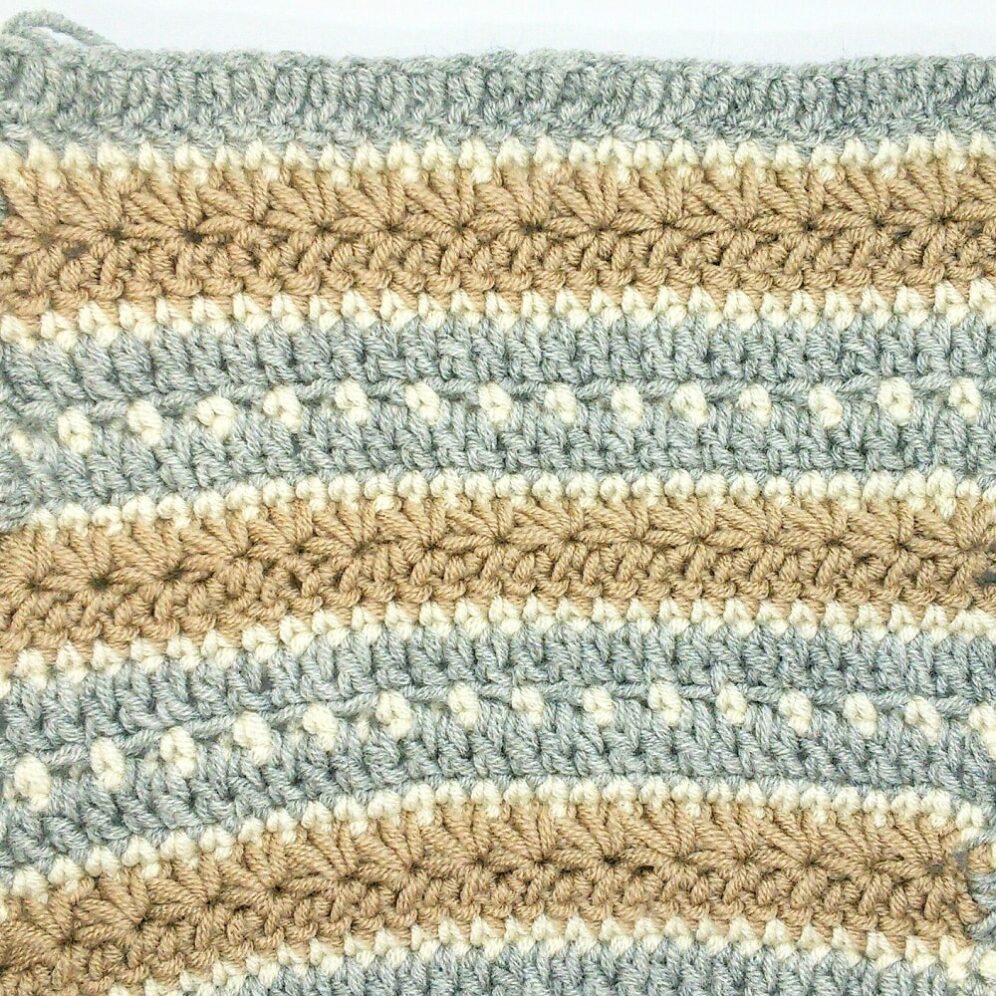

Row 4: Chain 2, this counts as your first stitch. Crochet 2 htc into the centre of each star. At the end 2 half trebles into final stitch. Finish off.
Row 5: Change to cream and attach. 1 dc in every htc of row below. Fasten off.
Row 6: Attach silver and chain 3, this counts as your first stitch. 1 tr in next dc. 1 tr every dc to end of row.
Row 7: Change to cream and attach. 1 dc in 1 tc of row below. Chain 1, miss 1 and dc in next stitch. Repeat until the end of row. Whereby the last 2 stitches are dc.
Row 8: Attach silver and chain 3, this counts as your first stitch. 1 tr in next chain space, then 1 tr in next dc. Repeat until end of row.
For rows 9 -15 repeat rows 2 to 8
For rows 16 -21 repeat rows 2-7
(If you want to make the wrist warmers longer, you can simply keep adding rows in pattern here)
Row 22: Attach silver. 1 dc in first dc, 1 dc in next chain space. Repeat until end of the row.
Making up
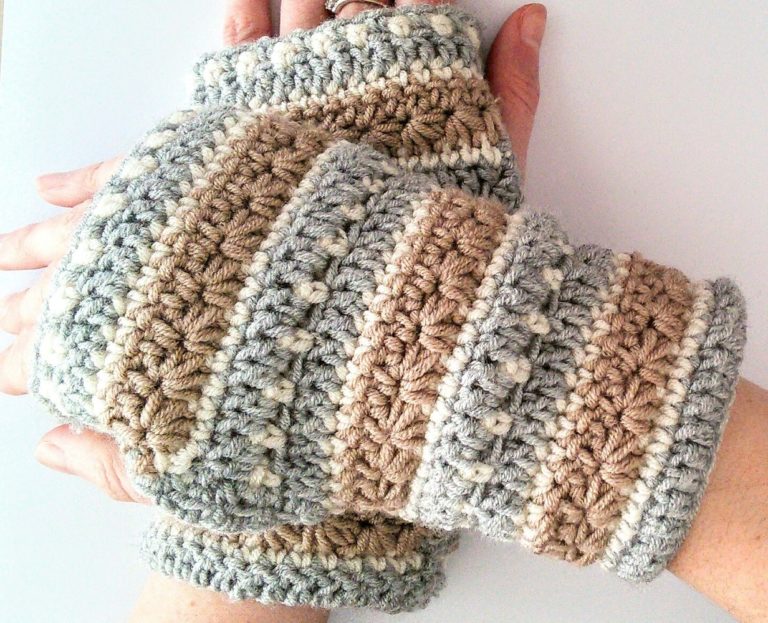
Double crochet in silver along both side edges. Measure on your hand where you would like the thumb hole to go (for me it was between rows 12 and 19) and mark with stitch markers. Then with right side facing in, crochet the edges together using double crochet stitches and leaving out the thumb hole. Fasten off.
Using silver, 1 dc in the thumb hole then chain 1, miss 1, 1dc in every stitch in the thumb hole (this will make it protrude slightly). Repeat for a second round on the thumb hole and fasten off.
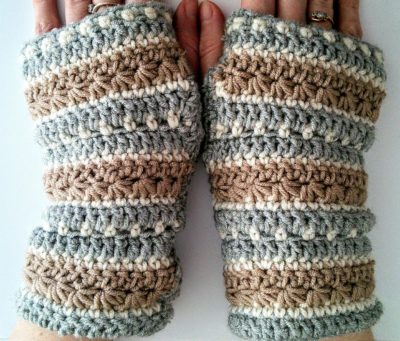

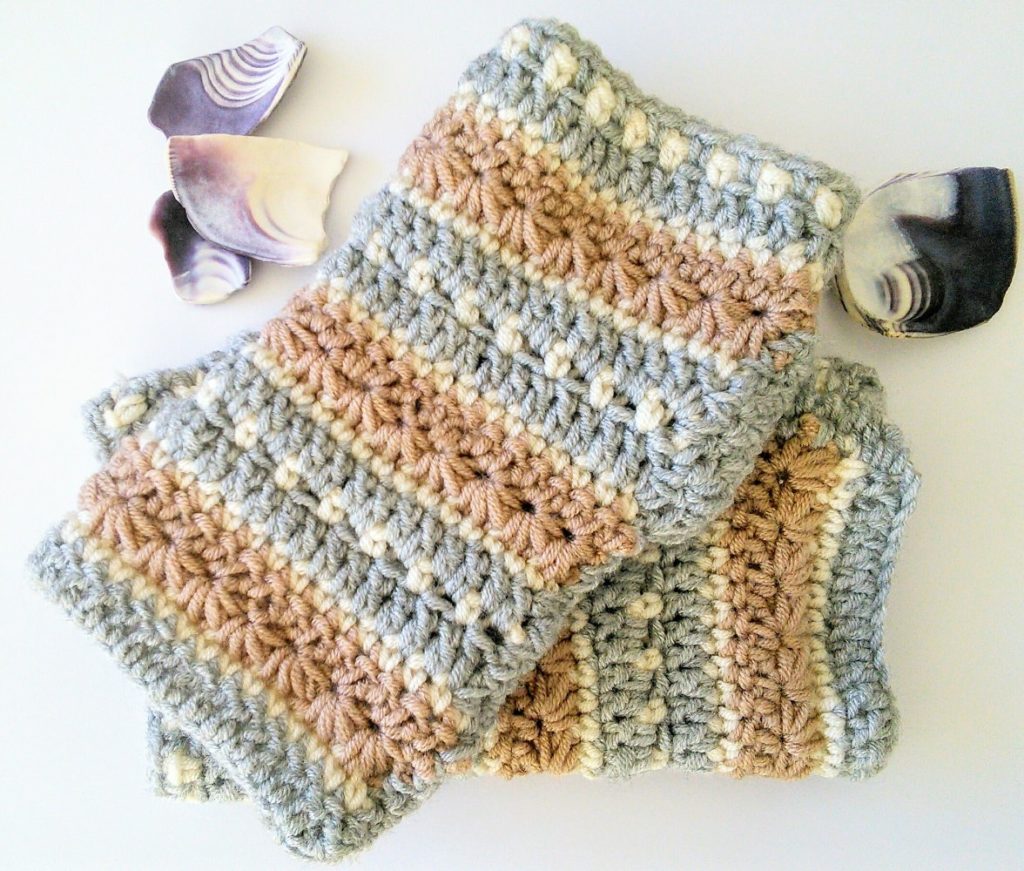

Then all you need to do is make the second wrist warmer!
I really hope you enjoyed crocheting these wrist warmers and had fun using the different stitches to make a patterned material for them. As with all my free patterns, please feel free to make and sell the crochet items, however, please credit me as the designer where possible and do not sell the pattern itself.
If you make these January Sky Wristwarmers, I would love to see it so why not tag me on Instagram using #Crochetcloudberry or my other social media?
FOLLOW CROCHET CLOUDBERRY ON SOCIAL MEDIA
Widget not in any sidebars


10 Comments
Kathy
I love the patterns I’ve seen so far , can’t wait to see more.
Jill
These are so lovely. I love the colours of a wintery sunset and have often thought of using is as inspiration for a blanket or something. These mitts are perfect and will give me a chance to learn new stitches too.
Crochet Cloudberry
Thank you Jill! I hope you have fun learning the star stitch!
Heather Harrison
Thank you for publishing this pattern. I’ve just made a pair of these in different colours and thoroughly enjoyed it!
Crochet Cloudberry
Thank you for letting me know. I’m so glad you enjoyed making them. x
Janet
Fabulous. Just started these
Crochet Cloudberry
lovely, I hope you are enjoying the pattern.
Pingback:
RK
Hi there,
I’m currently making these, and am on row 10 (which is a repeat of row 3). The problem is that the star stitch is on the wrong side as it switches from an odd row to an even row. How do you crochet it coming from the wrong side?
Crochet Cloudberry
Hej! You would work it in the same way as Row 3. If you are coming from the wrong side, you can choose to either join the new colour of yarn from the wrong side or the right side and then work as in row 3.
I hope this helps.
Cat