Star gazing again
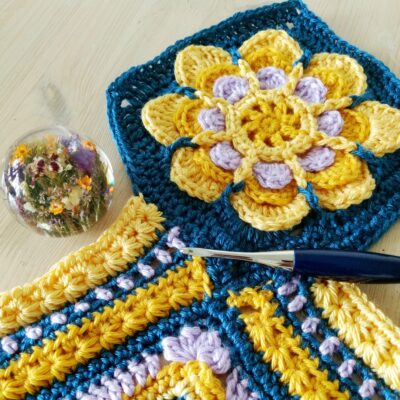
You would be forgiven for thinking that you are having a deja vu! But you are not, this week we are repeating the star stitch row. This is so that it works as bold stripes within the larger pattern and I hope that you enjoy the star stitch as much as me. I have to admit there is also something comforting about repeat row. It has been really good for me this week to do a a repeat row as I have been finishing off a large translation project, which really taxed my brain, so it has been so nice to relax with these rows of start stitch on a night.
Hope that you are all having a wonderful start to October!

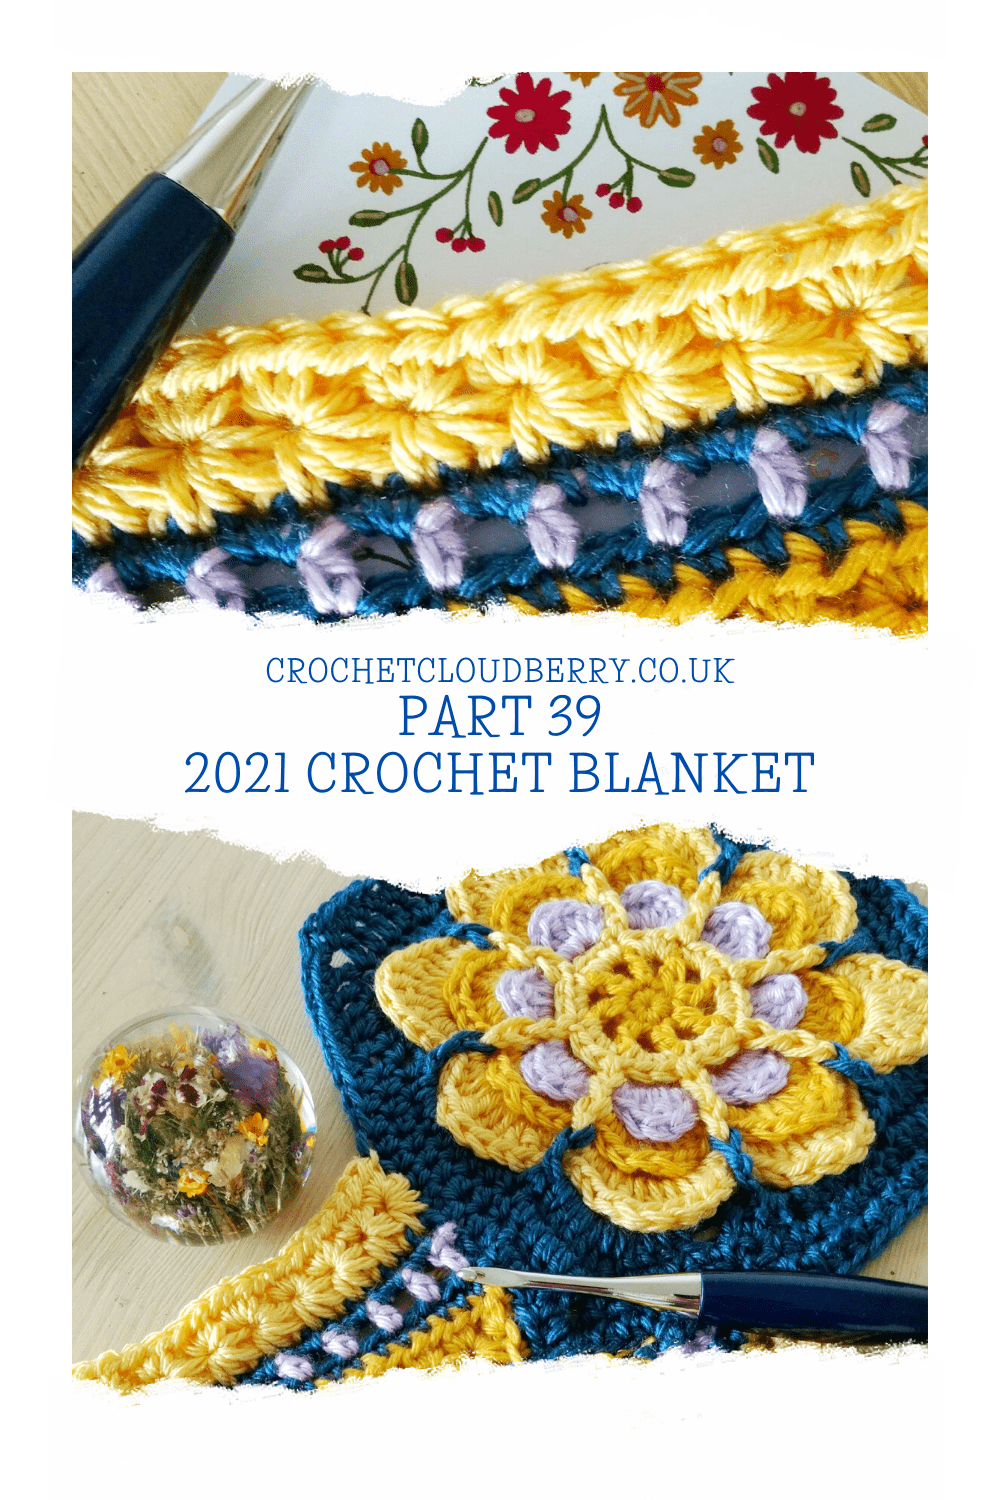
This week, we are repeating the star stitch rows in Sunshine.
Materials
Tapestry needle and sharp scissors
Using these affiliate links to LoveCrafts and Yarnspirations will not cost you any extra but will provide me with a small commission to keeping providing free crochet patterns.
Pattern notes
The pattern is written using UK terminology, for a conversion chart to US terminology click this link.
The blanket is worked in the round. You do not need to turn your work after each row and you continue working in the same direction as before.
[Stitches written in brackets like this are all worked into the same stitch.]
For the first stitch on each row: Chain 1 to move up to the next round if the round starts with double crochet. Chain 2 if the round starts with a half treble crochet, and chain 3 if the round starts with a treble crochet. These chains count as the first stitch in the row
Special stitches
Ch – chain
Htr – half treble
Ss – slip stitch
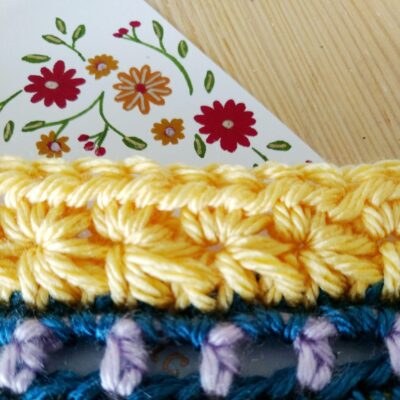
Star stitch – as explained below
Start crocheting here:
Row 7
Use Sunshine for the star stitch-
With the right side of the blanket facing up, start on the left side of any corner. Attach yarn with slip stitch into the stitch that is 2 up from the corner ch-2-sp on the square. Then proceed down the side of the square and on to the main part of the blanket in the pattern of the star stitch as follows:
Insert your hook into stitch with slip stitch, yarn over and pull through. Do not finish the stitch so that you should now have 2 loops on your hook.
Then insert hook in next stitch on the square, yarn over and pull through, as before do not finish stitch so that you now have 3 loops on your hook.
Repeat this step for the next 3 stitches on the blanket until you have 6 loops on your hook. Then yarn over and pull this loop through the six loops already on your hook.
Chain 1 to complete eye of the star. You have now completed the first star.


The rest of the stars are formed as follows: Insert hook into eye of previous star yarn over and pull through – do not finish the stitch so that you should now have 2 loops on your hook. Insert hook into the space between the last two stitches of the previous star, yarn over and pull though, you should now have 3 loops on your hook. Insert hook into hook into the same stitch that you worked the last stitch of the previous star into, yarn over and pull through, so you should now have 4 loops on your hook. Then insert hook, yarn over and pull through for the next 2 stitch until you have 6 loops on your hook, yarn over and pull through, then chain one to complete the eye of the star.
Do this until the end of the row. Do not fast off.
Row 8
Slip stich into the second stitch of the right side of the next square. Make 2 more slip stitches further up the square, then chain 1 and turn your work so the wrong side is now facing you. Now work the return row by crocheting 2 htr in each ‘eye’ of the star. When you get to the end of the row make a slip stitch in the first square 2 stitches up from the beginning of row 3. Fasten off.
Repeat for all 4 sides.


