
Star Stitch Square
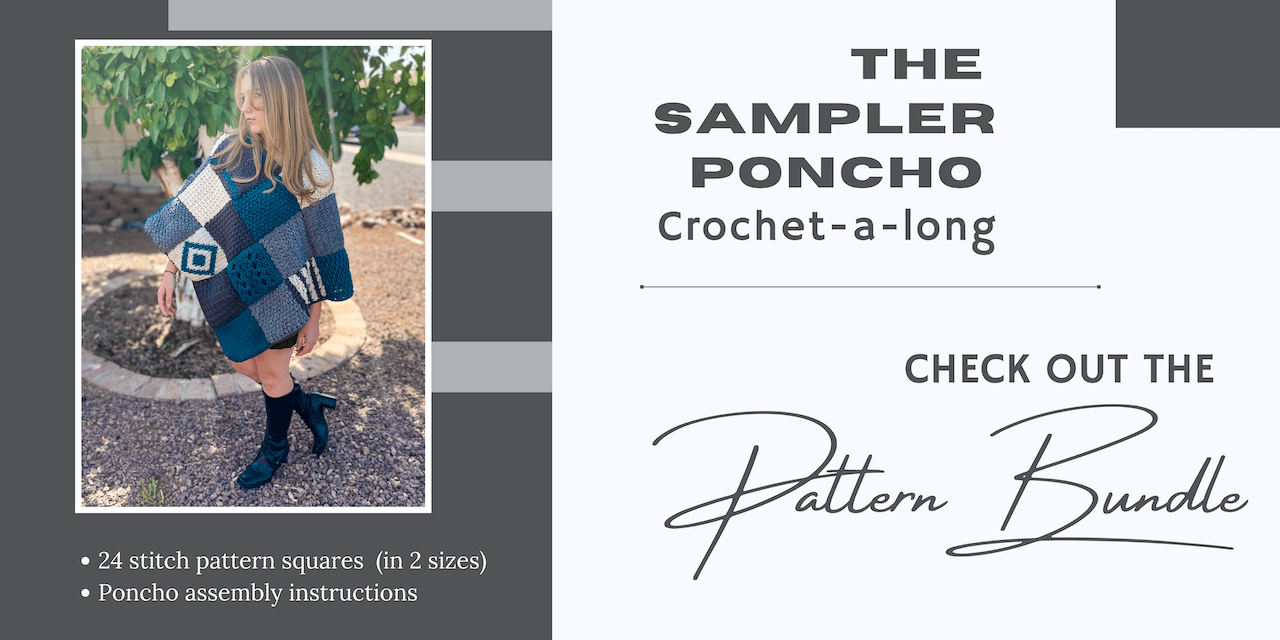
Horray, it if finally my turn to present you a free square pattern as part of the wonderful Sampler Poncho CAL. Click on the Round up button to see all the other wonderful squares in the CAL.
Below you will find the free star stitch square pattern for both the 7 and 8 inch version and info on how to get your hands on the free pattern pdf.
If you want to have all your patterns for this CAL at your finger tips, you can also buy this pattern bundle at a heavily discounted price compared to buying each pattern separately.
Pattern notes
The pattern is written using UK terminology, for a conversion chart to US terminology click this link.
The squares are worked in rows going back and forth. Only the final row is worked in the round.
[Stitches written in brackets like this are all worked into the same stitch.]
Materials
Worsted or Aran weight yarn in chosen colour
5 mm hook
Notes. Please note, the tension on this pattern is very loose. If you are having trouble to get the sizing correct, you may find it useful to go up a hook size or two.
Tip
You may find this tutorial for the star stitch useful.
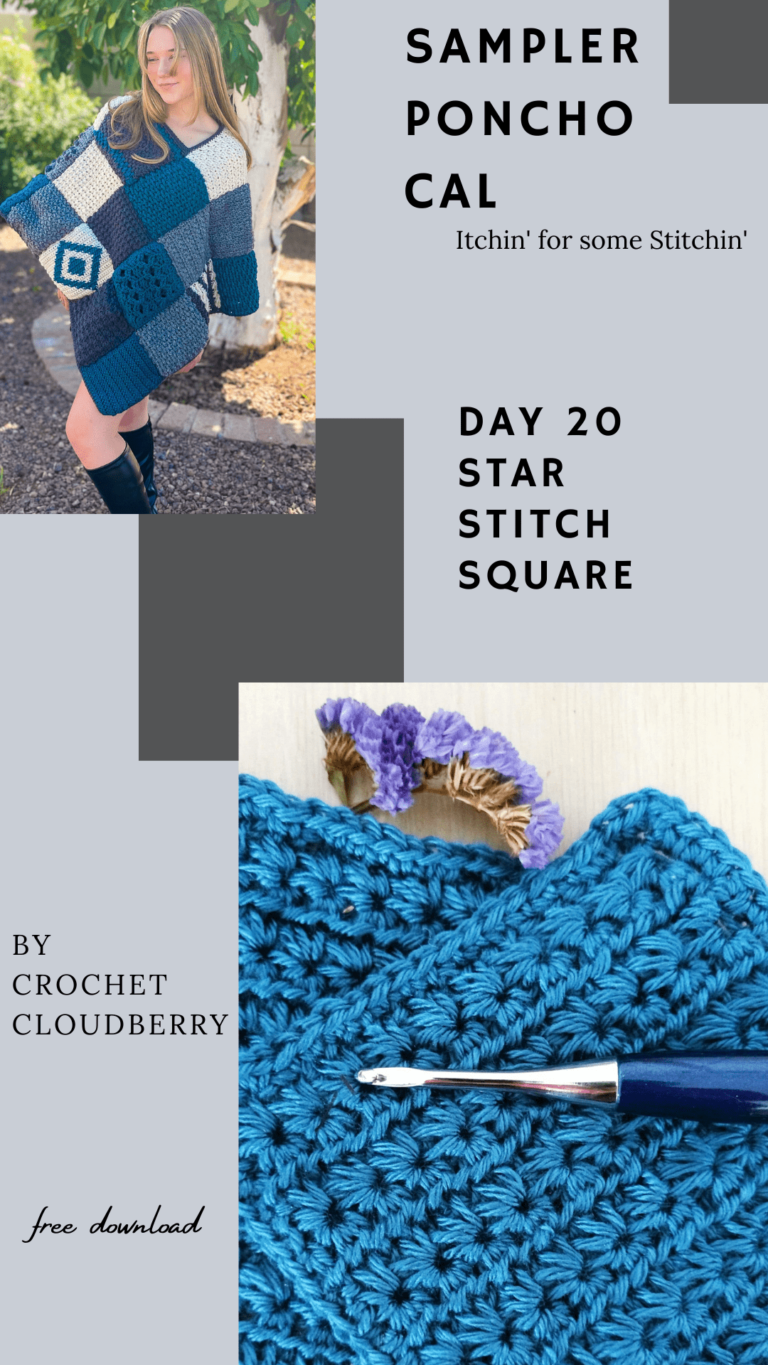
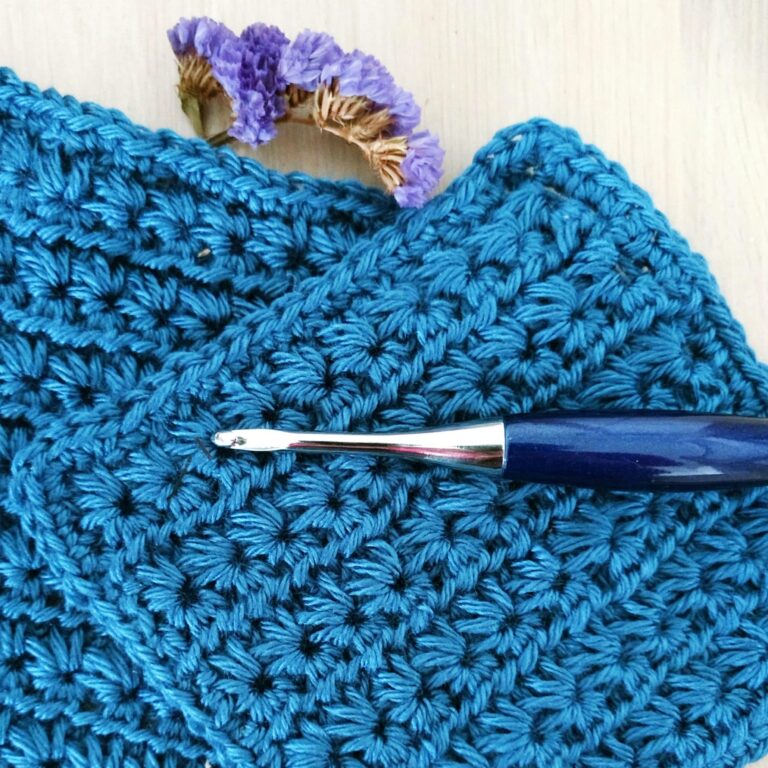
7 Inch Square
Foundation: Chain 20 plus 4.
Row 1: (First star): Insert your hook into second chain from hook, yarn over and pull through. Do not finish the stitch so that you should now have 2 loops on your hook.
Then insert hook in next chain, yarn over and pull through, as before do not finish stitch so that you now have 3 loops on your hook.
Repeat this step for the next 3 chains until you have 6 loops on your hook. Then yarn over and pull this loop through the six loops already on your hook.
Chain 1 to complete eye of the star. You have now completed the first star.
The remainder of the stars in the row are worked into the side of the previous star as follows: Insert hook into eye of previous star yarn over and pull through – do not finish the stitch so that you should now have 2 loops on your hook.
Insert hook into the space between the last two stitches of the previous star, yarn over and pull though, you should now have 3 loops on your hook.
Insert hook into hook into the same chain that you worked the last stitch of the previous star into, yarn over and pull through, so you should now have 4 loops on your hook.
Then insert hook, yarn over and pull through for the next 2 chains until you have 6 loops on your hook, yarn over and pull through, then chain one to complete the eye of the star.
Continue in this way until the end of the row. To finish off, 1 htr in the final foundation chain.
You should have 10 half stars.
Row 2:
(This forms the top of the star): Chain 2, this counts as your first stitch. Crochet 2 half trebles working into the centre of each star. At the end of the row, work 2 half trebles into final stitch. You have now completed your first full row of 10 stars.
Row 3 and all other odd rows:
Chain 3, then insert your hook into second chain from hook, yarn over and pull through. Do not finish the stitch so that you should now have 2 loops on your hook. Then insert hook in next chain, yarn over and pull through, as before do not finish stitch so that you now have 3 loops on your hook. Repeat this step for the first 3 half trebles on the row below until you have 6 loops on your hook. Then yarn over and pull this loop through the six loops already on your hook. Chain 1 to complete eye of the star.
Continue as in row 1 to complete the row of star stitch.
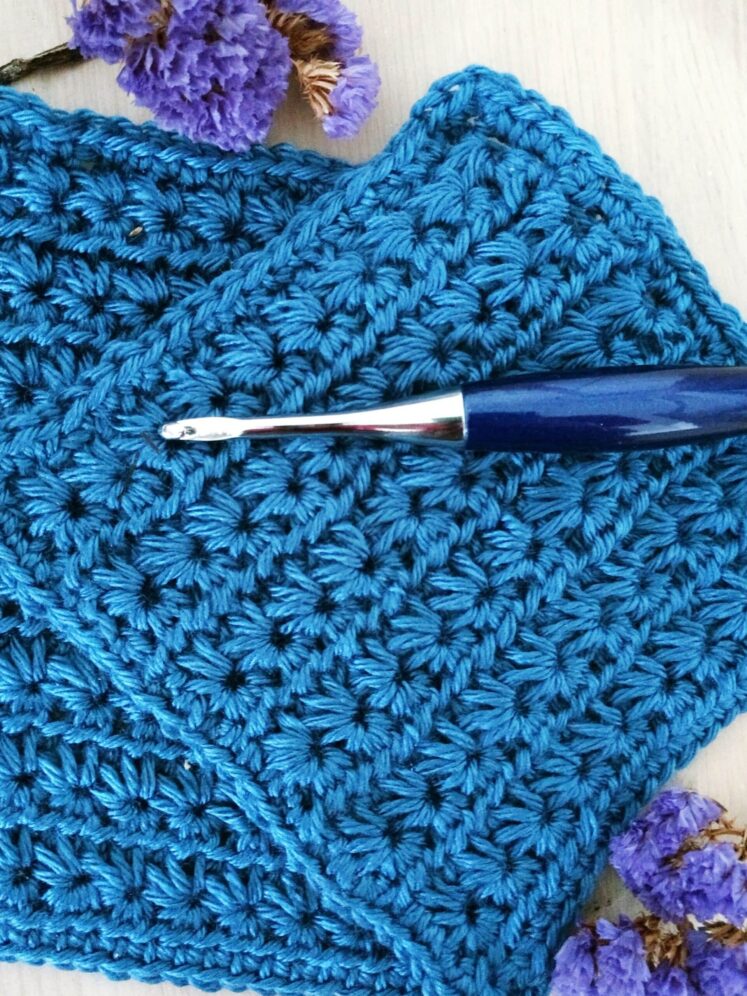
Row 4 and all other even rows: As row 2.
Work rows 3 and 4 until you have 6 rows of stars.
Border – Start in the corner, work 3 dc in the corner stitch. Then work dcs around into every stitch, chain and evenly distributed down the sides of the star stitch. Fasten off.
If you square is still on the small side after blocking, you may wish to add a second round of dc to the border.
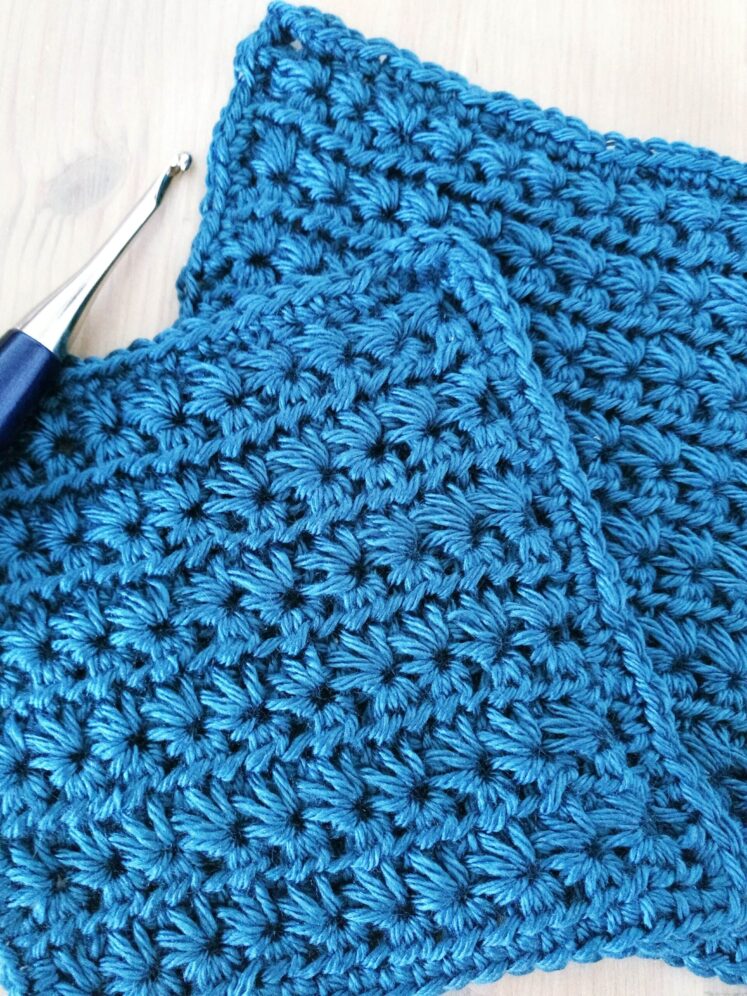
8 inch square
Foundation: Chain 26 plus 4.
Row 1: (First star): Insert your hook into second chain from hook, yarn over and pull through. Do not finish the stitch so that you should now have 2 loops on your hook.
Then insert hook in next chain, yarn over and pull through, as before do not finish stitch so that you now have 3 loops on your hook.
Repeat this step for the next 3 chains until you have 6 loops on your hook. Then yarn over and pull this loop through the six loops already on your hook.
Chain 1 to complete eye of the star. You have now completed the first star.
The remainder of the stars in the row are worked into the side of the previous star as follows: Insert hook into eye of previous star yarn over and pull through – do not finish the stitch so that you should now have 2 loops on your hook.
Insert hook into the space between the last two stitches of the previous star, yarn over and pull though, you should now have 3 loops on your hook.
Insert hook into hook into the same chain that you worked the last stitch of the previous star into, yarn over and pull through, so you should now have 4 loops on your hook.
Then insert hook, yarn over and pull through for the next 2 chains until you have 6 loops on your hook, yarn over and pull through, then chain one to complete the eye of the star.
Continue in this way until the end of the row. To finish off, 1 htr in the final foundation chain.
You should have 13 half stars.
Row 2:
(This forms the top of the star): Chain 2, this counts as your first stitch. Crochet 2 half trebles working into the centre of each star. At the end of the row, work 2 half trebles into final stitch. You have now completed your first full row of 10 stars.
Row 3 and all other odd rows: Chain 3, then insert your hook into second chain from hook, yarn over and pull through. Do not finish the stitch so that you should now have 2 loops on your hook. Then insert hook in next chain, yarn over and pull through, as before do not finish stitch so that you now have 3 loops on your hook. Repeat this step for the first 3 half trebles on the row below until you have 6 loops on your hook. Then yarn over and pull this loop through the six loops already on your hook. Chain 1 to complete eye of the star.
Continue as in row 1 to complete the row of star stitch.

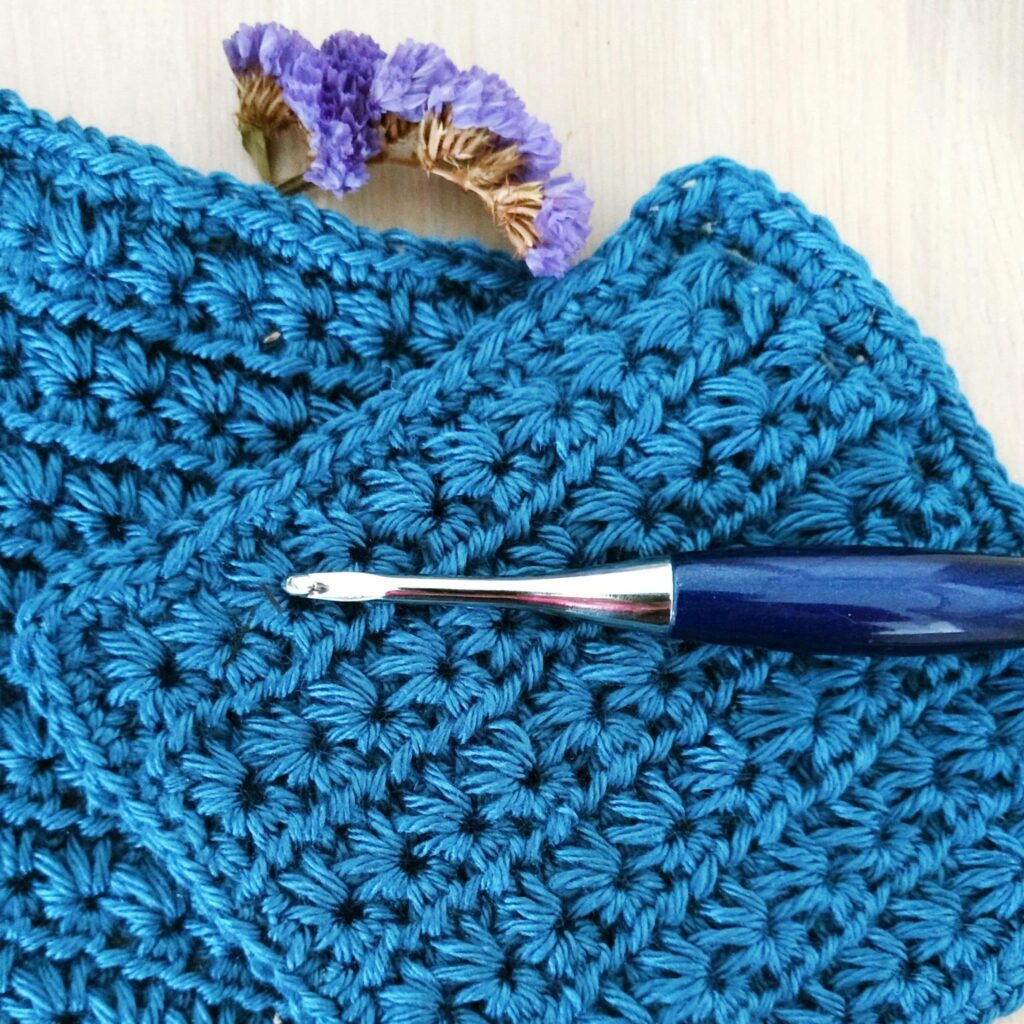
Row 4 and all other even rows: As row 2.
Work rows 3 and 4 until you have 8 rows of stars.
Border – Start in the corner, work 3 dc in the corner stitch. Then work dcs around into every stitch, chain and evenly distributed down the sides of the star stitch. Fasten off.
If you square is still on the small side after blocking, you may wish to add a second round of dc to the border.
Would you like to download a free pdf of this star stitch square pattern. Then click the link to Ravelry and enter the code “poncho”. (This offer is valid until 18th August 2022).
Happy crocheting and don’t forget to share your squares with me.



2 Comments
noel
link to ravelry not working
Crochet Cloudberry
Hej, I just checked and the links are working now, but if you are still unable to access it, you could try copying and pasting this link: https://www.ravelry.com/redeem/crochet-cloudberry
Hope that works.
Catherine