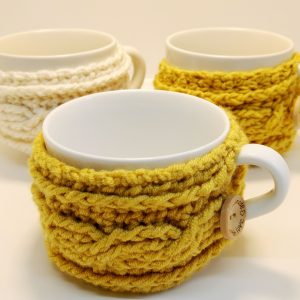
Easy Cable Crochet Mug Cosy
This Easy Cable Crochet Mug Cosy is part of the Christmas in July Make Along organised by the lovely Marie at Underground Crafter. As I already mentioned in my post at the start of the month, the #CIJMakeAlong2020 brings together 31 great free crochet, knitting and sewing patterns.
Each week of the Make Along has a theme and this week’s theme is gifts for everyone. And with the thinking that in Winter everyone like a nice hot drink, the idea for the Easy Cable Crochet Mug Cosy was born. I love the texture that the cables give and if you are unfamilar with the technique, the mug cosy is a perfect small project for beginners. I have also made a small video tutorial of Row 6, where the cables cross. It will help you know exactly where to place your stitches.


Materials
For each each, you will need:
Stylecraft Belissma in Mellow Yellow (approx. 20 g) or similar thick dk or worsted weight yarn
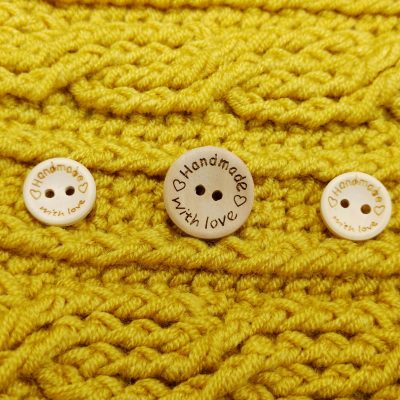
2cm diameter “handmade with love” button
Sewing thread
Embroidery needle
Sewing needle
You can purchase yarn and accessories at lovecrafts. (Using these links does not cost you any extra but I will earn a small commission that will help me keep posting free patterns).
Pattern notes
The pattern is written using UK terminology, for a conversion chart to US terminology click this link.
The mug cosy is worked back and forth in rows. At the end of each row make 1 chain to turn.
Special stiches
Ch – chain
Dc – double crochet
Fptr -front post treble
Fpdtr – front post double treble
Size and Variation
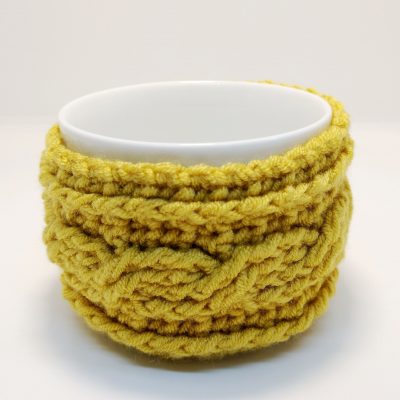
Size: It will fit a standard Ikea 365 mug (diameter approx. 9 cm, depth approx. 8.5 cm).
Variation: If you would like to make this cosy for a slightly larger mug like the Högnäs mug in some of the photos (diameter approx. 8.5 cm, depth approx. 7.5 cm). Simply add an extra dc to the start and finish of each row, so that your stitch count is always 12.
For wider mugs, you may find that the cosy will fit better if you do an additional repeat of the cable pattern.
Foundation:
Chain 11.
Row 1:
Dc in second chain from hook, then dc across (10)
Row 2:
Dc, fptr over dc in row 1, dc, 4fptr over dcs in row 1, dc, fptr over dc in row 1, dc. (10)
Row 3:
Dc across. (10)
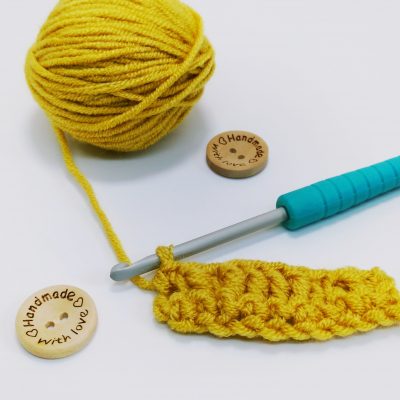
The cable cross over occurs in Row 6.
Row 6:
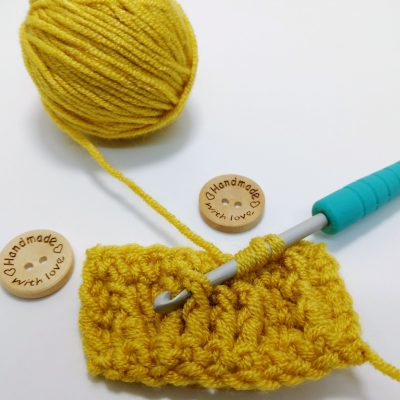
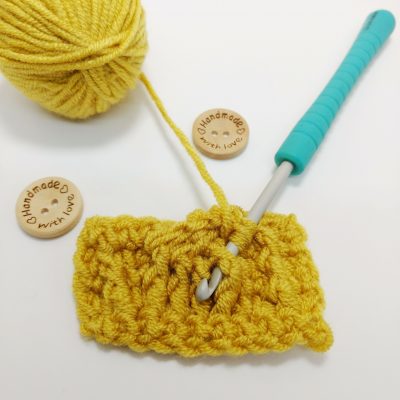
Dc, fptr over fptr in row 4, dc, skip 2 and work 2fpdtr over fptr in row 4, then work into the 2 fptr you skipped – 2fpdtr over fptr in row 4, dc, fptr over fptr in row 4, dc. (10)
This short crochet video shows you where to place your stitches on row 6. It is subtitled so that you can play without sound.
Row 7:
Dc across. (10).
Row 8:
Dc, fptr over fptr in row 6, dc, 4 fptr over fptr in row 6, dc, fptr over fptr in row 6, dc. (10)
Tip:
On row 8 when working the centre 4fptr, you may still be working behind the cable cross over, so pay extra attention to where you place your stitches.
Continue
Repeat Rows 3 to 8 until the material is the desired length to go around the mug. For the Ikea and Högnäs mug, you repeat this sequence 9 times.


Finishing Off
Using the yarn and embroidery needle, sew the top two edges together and do the same for the bottom edges leaving enough room for the handle inbetween. Then using the sewing thread and sewing needle sew the button in place, in the middle between the top and bottom of the handle. For the button hole, use the yarn, insert your hook into the side opposite to the button at about the level of the button. Make enough chain stitches to go around the button and back to the side you started out at, then sew the chains on to the side.
Congratulations
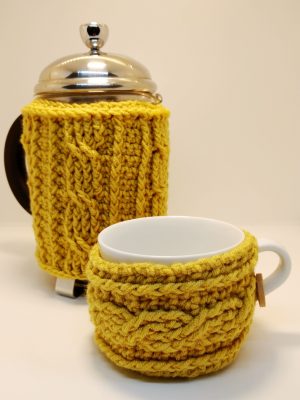
Congratulations you have now made your easy crochet cable mug cosy. I do hope that your chosen recipient loves the gift you have made for them. Don’t be shy about sharing you finished cosies – I love to see them. You can share them using #crochetcloudberry on social media.
Don’t forget to check out the other great free patterns in the Christmas in July Make Along. And if are wanting to go all out, why not crochet a cafetiere cosy for your friends too? Stay tunned for the pattern next week.
This pattern also features on Allfreecrochet.
YOU MAY ALSO LIKE






3 Comments
Pingback:
Pingback:
Pingback: