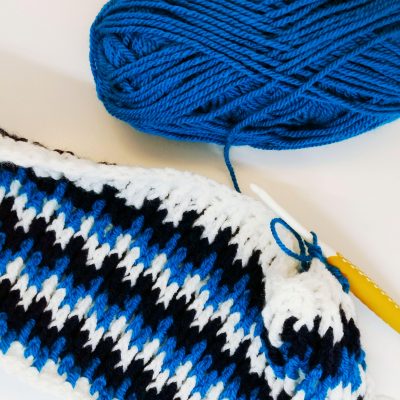
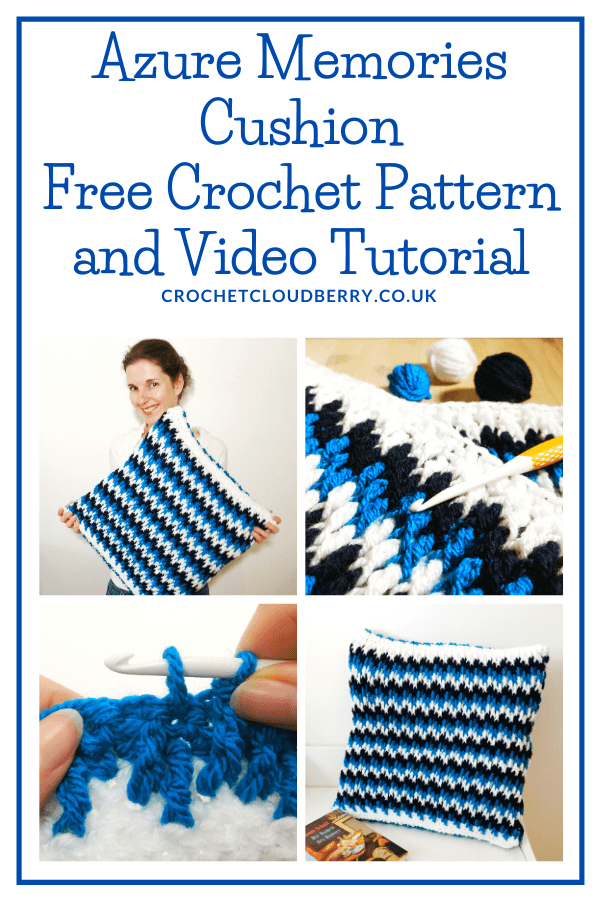
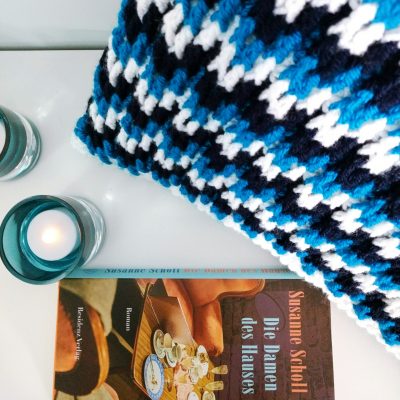
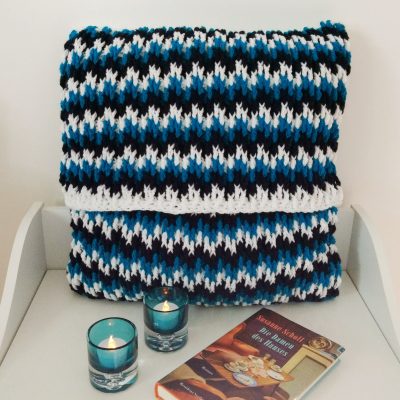
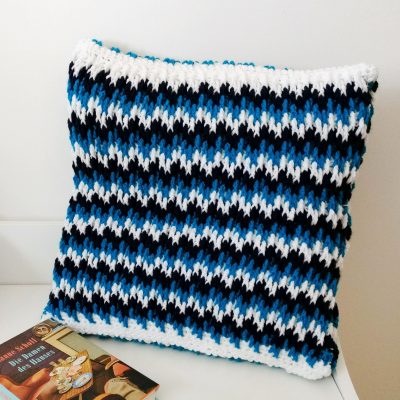
Crochet cushion covers are the perfect way to show off the versatility of the craft and introduce interesting textures into your home. This free crochet pillow pattern does just that; it introduces textured diagonals in shades of blue. I have called this cushion Azure Memories because the colours remind me of a long-gone holiday to Greece, where the whites and blues shone out in the warm sunshine. As any holiday look unlikely this year, this cushion is a great way to add a little holiday-vibe on my sofa.
Add this free crochet cushion cover pattern to your Ravelry queue.
Scroll down for the video tutorial showing you how to recreat the textured pattern.
You can purchase this yarn and accessories at lovecrafts. (Using these links does not cost you any extra but I will earn a small commission, will help me keep posting free patterns).
Pattern notes
The pattern is written using UK terminology, for a conversion chart to US terminology click this link.
[Stitches written in brackets like these are worked into the same stitch]
Every time you start a new colour, you should begin working with your work the right sie up,
Size
To fit a 46cm x 46cm (18 inch) cushion.
Special stiches
bpdtr – back post double treble
fpdtr – front post double treble
Start crocheting here:
Foundation: Use white and chain 47.
Row 1: Dc in second chain from hook, then dc into each chain to end. (46 stitches)
Row 2-3: Dc across. Fasten off.
Row 4: Change to Empire. 1 dc, *1 fpdtr around the dc in row 1, 2dc. From * 15 times. Dc.
Row 5: 1dc, *1dc, 1bpdtr around the dc in row 2, 1 dc. From * 15 times. Dc.
Row 6: 1dc. * 2dc, 1fpdtr around the dc in row 3. From * 15 times. Dc.
This short video tutorial shows where to insert the fpdtr in the first rows.
Row 7: Change to Midnight. 1 dc, *1 fpdtr around the fpdtr in row 4, 2dc. From * 15 times. Dc.
Row 8: 1dc, *1dc, 1bptr around the fpdtr in row 5, 1 dc. From * 15 times. Dc.
Row 9: 1dc. * 2dc, 1fptr over the fpdtr in row 6. From * 15 times. Dc.
Now continue in pattern changing colour every three rows until your work measures approx. 40 cm for the front. The colour sequence is White, Empire, Midnight.
Back
The two back pieces are worked in exactly the same way.
Back piece 1 – follow the pattern above until it measures approx. 23 cm,
Back piece 2 – follow the pattern above until it measure approx. 30 cm.
Assembly
Use the bodkin and a length of Stylecraft Special Aran in white to sew the pieces together. This cushion has an envelope style closing without any buttons. With right sides facing in, place the back piece 1 on top of the front with the foundation rows at the bottom. Use stitch markers to pin into place and then sew the two pieces together. Once you have finished this step, turn the pieces so that the right sides are now facing outwards. Then with the right sides facing in, place back piece 2 over the front and positioned at the top. While doing this, back piece 2 should also overlap back piece 1. Use stitch markers to hold in place and then sew into place. Once this step has been completed, turn the pieces so that the rights sides are facing out. You can now insert the cushion.
I hope you enjoyed this pattern. If you make the Azure Memories crochet pillow please share it with me on social media:
2 Comments
Pingback:
Pingback: