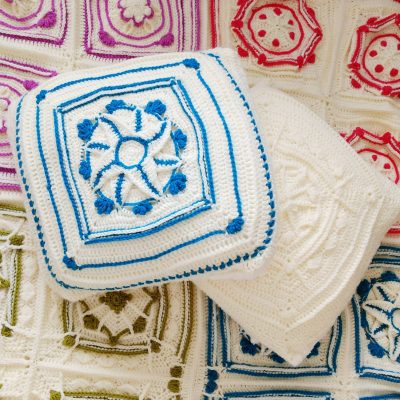
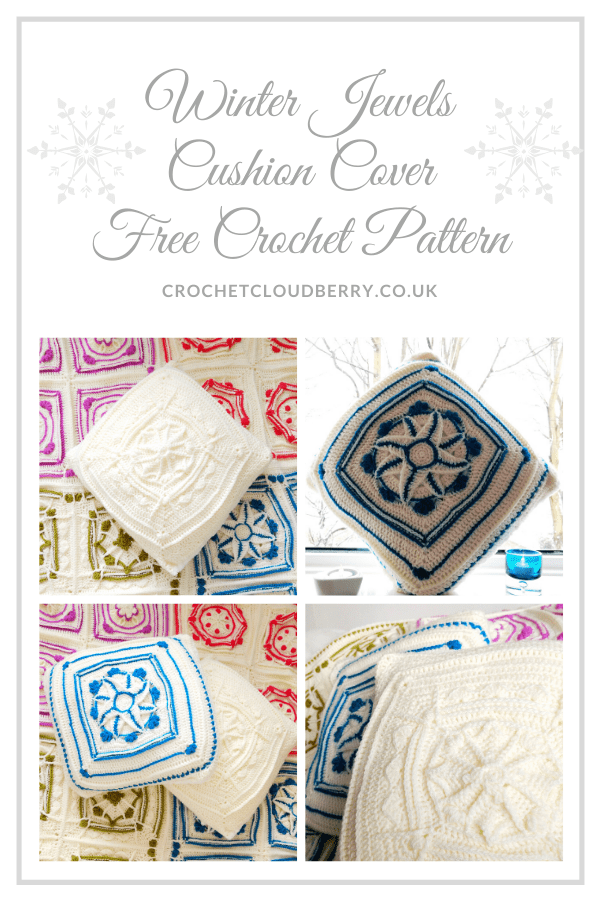
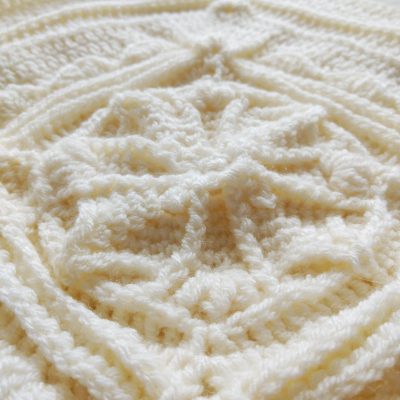
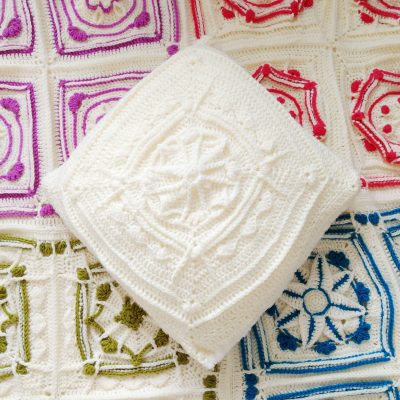
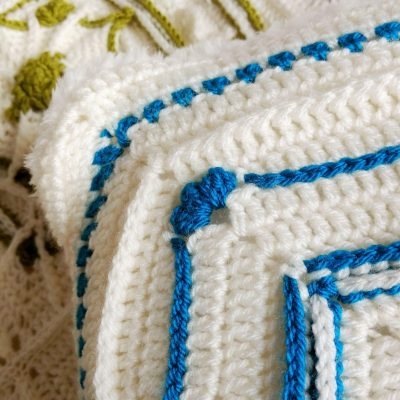
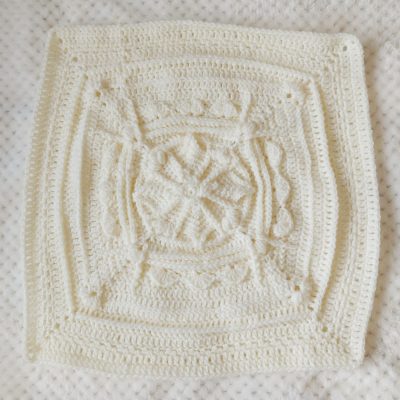
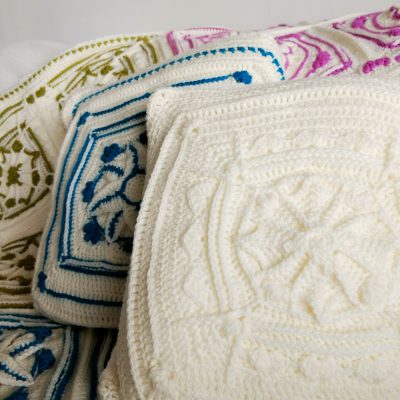
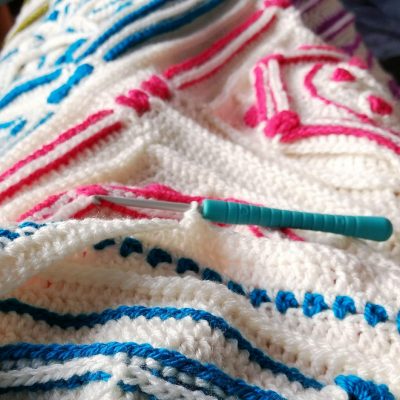
Ever since, I finished the Winter Jewels Lapghan I have wanted to design a crochet matching cushion and I was also interested in working the granny squares in a single colour to see if it worked. The photos show the result of my experiments and the pattern for the cushion is found below.
Add this crochet cushion pattern to your ravelry queue.
For this cushion, you will use as your base any granny square from the Winter Jewels Lapghan CAL. As each of these squares ends with a different number of stitches and this pattern is to be used for all squares, you will only have to count the stitches before and after the corners.
Two pieces of material for the back of approx. 12 inch x 14 inch.
Cushion insert 14 inch x 14inch (35cm x 35cm).
You can purchase yarn and accessories at lovecrochet. (Using these links, the Amazon links or Yarnspiration links does not cost you any extra but I will earn a small commission that will help me keep posting free patterns).
The square is worked in the round. You do not need to turn your work after each row and you continue working in the same direction as before.
[Stitches written in brackets like this are all worked into the same stitch.]
For the first stitch on each row: Crochet 1 chain to move up to the next round if the round starts with double crochet. Crochet 2 chains if the round starts with a half treble crochet, and crochet 3 chains if the round starts with a treble crochet. These chains count as the first stitch in the row.
Special stiches
Back post treble crochet – bptr Chain – ch Chain n space – ch-n-sp (n = the number of chains) Double crochet – dc Front post double crochet – fpdc Half treble – htr Slip stitch – sl st Treble – tr 3 treble cluster – 3 trcl
Round 1
Using cream, tr in each stitch around. In the corner spaces [tr, ch 2, tr]. Fasten off.
If you are enjoying this pattern why not follow Crochet Cloudberry on Social Media?
Follow Crochet Cloudberry
Round 2
Using colour, slip stich until 2 stitches before the corner, then skip 2, chain 1 [3trcl, chain 1 – 3 times] into the ch-2-sp, skip 2. Then continue with the slip stitches until next corner sequence. 4 times. Fasten off.
Round 3
Using cream. Work tr into the stitches in round 1 until you reach the corner sequence from round 2. Htr in ch-1-sp, fpdc over 3tcl, dc in ch-1-sp, fpdc over 3tcl, dc in ch-1-sp, fpdc over 3trcl, htr in ch-1-sp. Then continue with tr into each stitch until next corner sequence. 4 times.
Round 4
Tr in each stitch around. In the corner stitches [tr, ch 2, tr].
Round 5
Bptr around. In the corner ch-2-spaces [tr, ch 2, tr].
Round 6
Tr in each stitch around. In the corner ch-2-sp [tr, ch 2, tr]. Fasten off.
Round 7
Using colour and working with the wrong side facing you. Work this pattern around, dc, ch 1, skip 1. In the corner ch-2-sp [dc, ch 2, dc]. Fasten off.
Round 8
Using cream and working with the right side facing you again. Work this pattern around, dc into ch-1-sp, ch 1, skip 1 dc. In the corner ch-2-sp [dc, ch 2, dc].
Round 9
Tr into ch-1-sp, tr into dc around. In the corner ch-2-sp (tr, ch 2, tr).
Round 10
Tr in each stitch around. In the corner ch-2-sp (tr, ch 2, tr). Fasten off.
Assembly
Using cream, sew the two pieces of material onto the back of the square to form an envelope opening. Alternatively, if you would rather crochet the backing material, you can crochet it in dc or tr with a starting row of 50 stitches. Keep on crocheting until the piece is the desired length and then sew onto the square.
2 Comments
JamesNailt
Sustain the spectacular work !! Lovin’ it!
Crochet Cloudberry
thank you!